Bottling a wine too early, before fermentation has finished, is how corks get pushed out and bottles leak or turn cloudy. Wine fermentation is the stage in which yeast turns grape sugar into alcohol and carbon dioxide; in the small-batch guides cited here it runs about one to four weeks, and it is over only when sugar readings stop falling at a dry level and a sugar test agrees.
Wine fermentation is yeast converting the sugar in grape juice into ethanol and carbon dioxide, often followed by a bacterial malolactic fermentation that softens acidity. For small-batch still wine, the Connecticut Agricultural Experiment Station describes the alcoholic fermentation as lasting anywhere from one to four weeks, with red grapes usually left on their skins for about four to five days. Temperature, starting sugar, the yeast strain and nutrients change the pace. NDSU Extension notes that a finished dry wine can read as low as 0.990 in specific gravity, the hydrometer’s measure of density relative to water at 1.000, and Purdue Extension sets the commercial “dry” line at under 1 g/L of glucose plus fructose.
This page compiles US university extension publications, the Australian Wine Research Institute (AWRI) and WineMaker Magazine, all read on October 7, 2026. It explains the stages and the checks; it is not a recipe, and it does not recommend any wine to buy or drink.
Key points:
- Two fermentations, two organisms. Yeast makes the alcohol; bacteria, mainly Oenococcus oeni, carry out the optional malolactic step.
- Weeks, not days. Active fermentation takes about one to four weeks in home guides; clearing and stabilising take weeks to months more.
- Temperature sets the pace. Warmer is faster and harder to control; above 35 °C (95 °F) yeast health suffers, according to the AWRI.
- Bubbles do not prove anything. A stable gravity reading over several days, checked with a sugar test, does.
What is wine fermentation?
Wine fermentation is two separate biological steps. The alcoholic fermentation, carried out by yeast, turns the grape sugars into alcohol and carbon dioxide and makes juice into wine. The malolactic fermentation (MLF), carried out by lactic acid bacteria, turns sharper malic acid into softer lactic acid; most red wines go through it, and some whites and sparkling base wines do (AWRI, 2020).
| Alcoholic fermentation | Malolactic fermentation (MLF) | |
|---|---|---|
| Carried out by | Yeast (wild from the grape skins, or a cultured wine yeast) | Lactic acid bacteria, mainly Oenococcus oeni |
| Converts | Glucose and fructose | Malic acid |
| Produces | Ethanol and carbon dioxide | Lactic acid and carbon dioxide |
| Effect on the wine | Makes it wine; sets the alcohol level | Lowers perceived acidity; changes flavour and mouthfeel |
| When | Starts within days of adding yeast | Usually after the alcoholic fermentation; occurs naturally or after inoculation |
| Sources | NDSU Extension; CT Agricultural Experiment Station | AWRI fact sheet (2020); CT Agricultural Experiment Station |
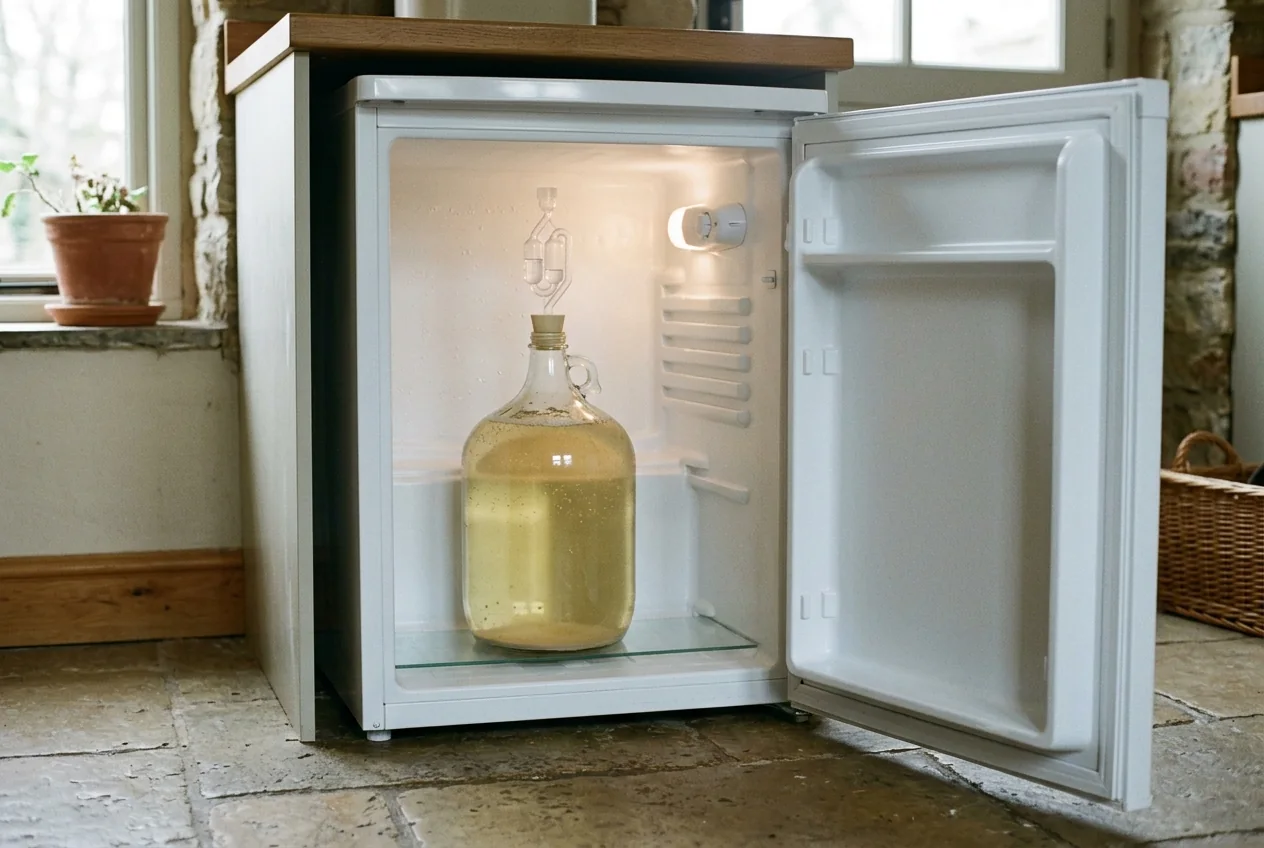
Both steps release carbon dioxide, which is why a fermenter needs a way for gas to escape. NDSU Extension describes the airlock as letting carbon dioxide out while keeping oxygen and microbes away, and warns that fruit flies carry vinegar bacteria. If you are following a full batch from fruit to bottle, our step-by-step home winemaking guide places fermentation within the whole sequence.
Takeaway: Treat “fermentation” as two jobs, yeast first and bacteria optionally second, and plan for both before you bottle.
What happens at each stage, and how long does it take?
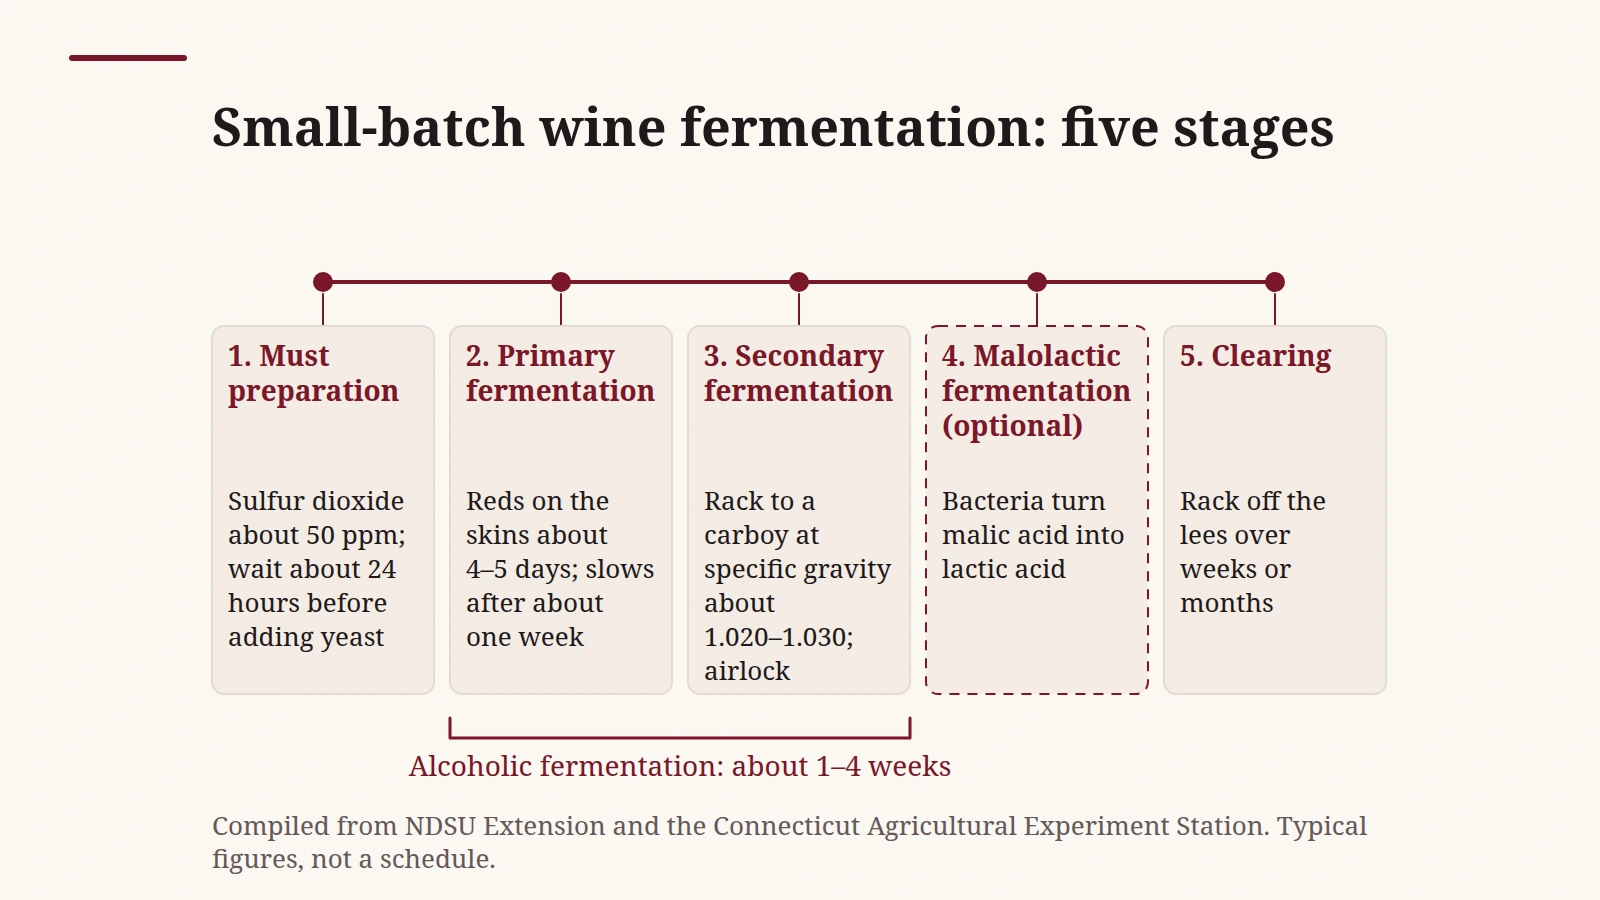
A small batch moves through five stages: preparing the must (the juice, or crushed grapes with their skins, that will be fermented), a vigorous primary fermentation, a slower secondary fermentation in a closed vessel, an optional malolactic fermentation, and clearing. The active part takes about one to four weeks in the Connecticut guide; the whole sequence from crush to a wine ready for bottling runs into months.
| Stage | What happens | Typical timing in the sources | Reading or sign to watch | Source |
|---|---|---|---|---|
| 1. Must preparation | Fresh juice or crushed grapes are treated with sulfur dioxide (about 50 ppm, roughly one Campden tablet per gallon) to suppress wild yeast and bacteria | Wait about 24 hours before adding yeast | Starting specific gravity, recorded | NDSU Extension |
| 2. Primary fermentation | Yeast multiplies; a cap of skins forms on red must and is punched down; foaming and heat | Reds sit on the skins about 4–5 days; fermentation slows after about one week | Gravity falling daily | CT Agricultural Experiment Station |
| 3. Secondary fermentation | Wine is moved (racked) to a carboy under an airlock to finish the sugar | Transfer at a specific gravity of about 1.020–1.030; bubbling seems to stop after about 10 days | Gravity still falling, then stable | NDSU Extension; CT Agricultural Experiment Station |
| 4. Malolactic fermentation (optional) | Bacteria convert malic to lactic acid | Starts after or near the end of the alcoholic fermentation; length depends on temperature, pH and SO2 | Malic acid disappearing on a paper chromatography test | AWRI (2020); Purdue Extension |
| 5. Clearing | The wine is racked off its sediment (lees) and topped up | Several weeks or months, with repeated rackings | Clarity; stable readings | NDSU Extension |
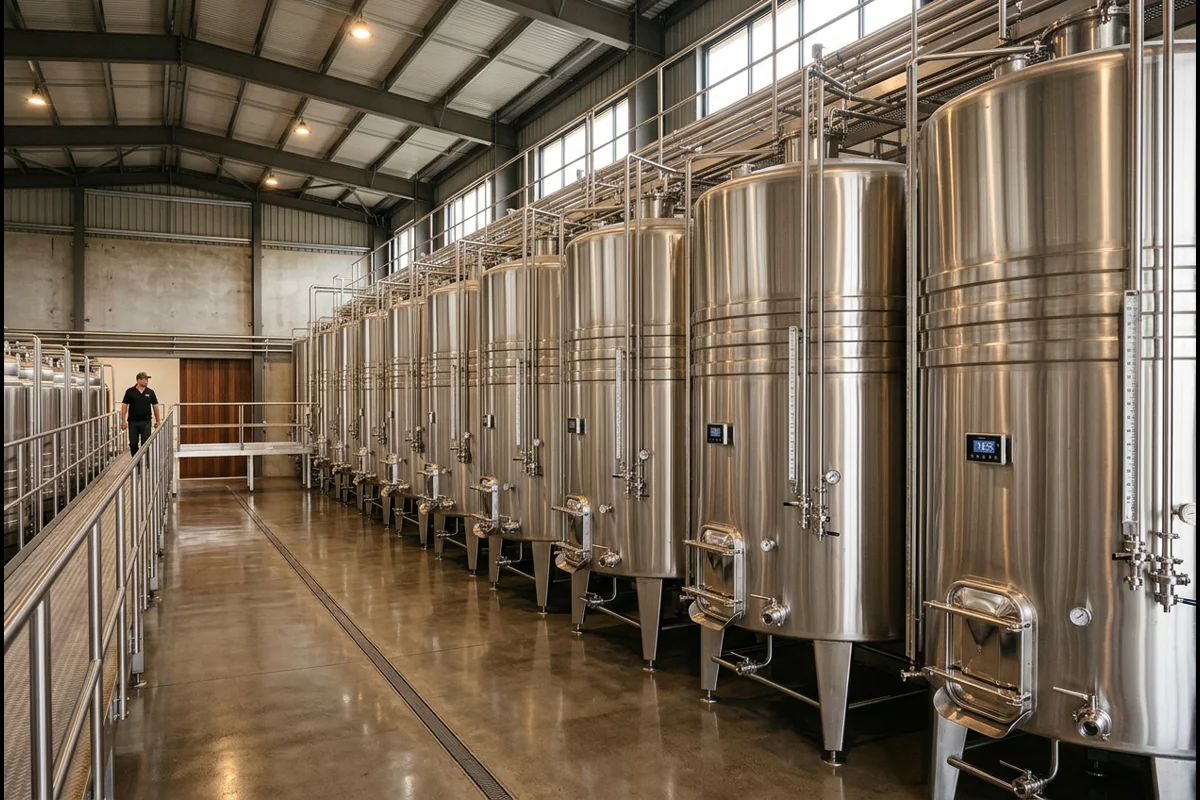
Red and white wines differ mainly in stage 2. Red wines ferment on their skins to take up colour and tannin and are pressed afterwards, while delicate whites are commonly pressed first and fermented as juice, though the Connecticut guide notes that whites can also be fermented on their skins for more character. The guide’s overall range, one to four weeks for the alcoholic fermentation, depends on temperature and on how much sugar there is to ferment.
The fermenters, airlocks and hydrometer these stages call for are listed in the beginner’s equipment and sanitation checklist. Stage 3 is a move into another vessel while yeast may still be finishing the sugar. Which lees to leave behind at that move, and how the move differs from malolactic fermentation, is in when to rack wine after primary fermentation.
Takeaway: Measure the stages by readings, not the calendar; the timings above are the sources’ typical figures, not deadlines.
What temperature should wine ferment at?
There is no single correct temperature, and the sources give different ranges because they address different wines and settings. NDSU Extension suggests holding home ferments steady between 65 and 80 °F, warmer for reds and cooler for whites and fruit wines. The Connecticut guide prefers 50–60 °F for its finishing fermentation. The AWRI, writing about red wines, adds an upper limit: above about 35 °C (95 °F), or with repeated heating and cooling, yeast health suffers.
| Source | Range or limit | Context |
|---|---|---|
| NDSU Extension | 65–80 °F (18–27 °C), held steady | Home wines; warmer is quicker and used for reds; cooler is slower and keeps the fruity aromas of whites and fruit wines |
| CT Agricultural Experiment Station | 50–60 °F (10–16 °C) preferred | Finishing fermentation in the carboy; warmer gives more complex wine but is harder to control |
| CT Agricultural Experiment Station | Fermenting must can near 104 °F (40 °C) | Too hot: can kill the yeast and stall the fermentation |
| AWRI | Above 35 °C (95 °F), or repeated warming and cooling | Affects yeast health and raises the risk of a stuck fermentation (red wine page) |
| CT Agricultural Experiment Station | Above 60 °F (16 °C) | Preferred by malolactic bacteria |
| AWRI (2020) | 18–22 °C (64–72 °F) favourable; below 12 °C (54 °F) harsh | Malolactic bacteria in white and sparkling base wines |
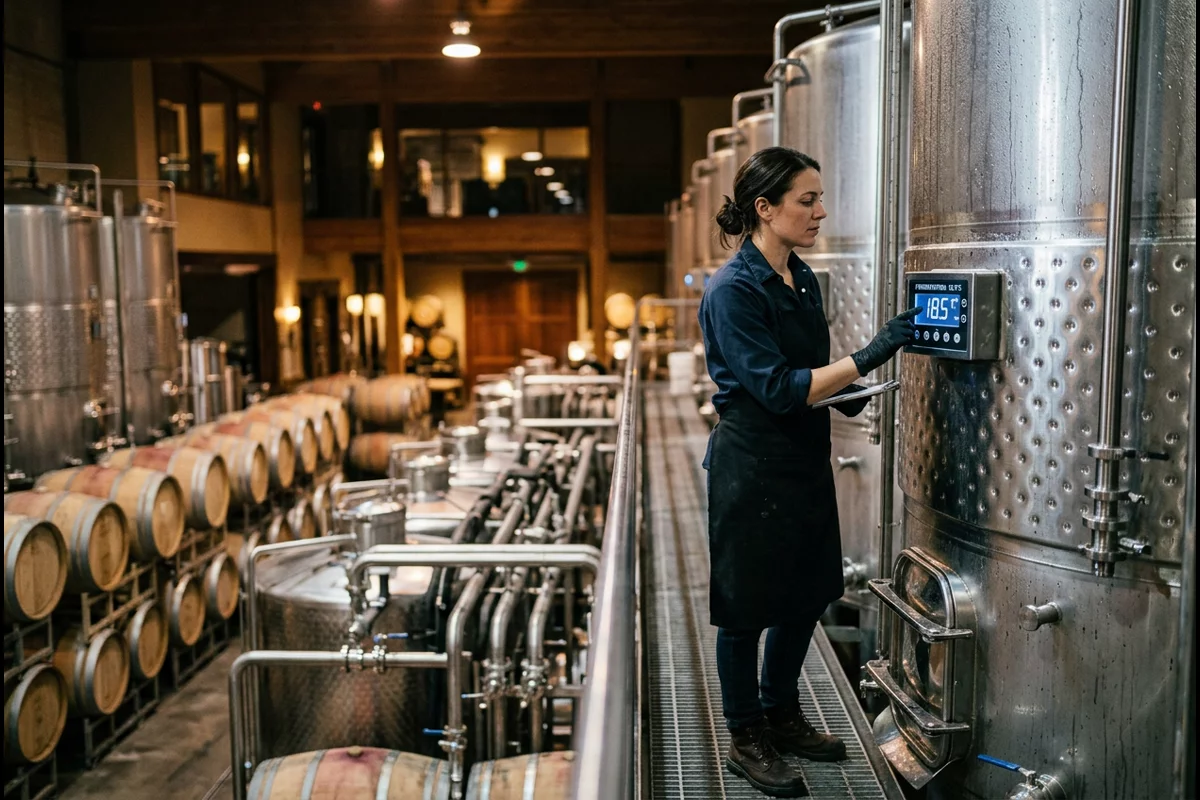
Heat builds on itself. The AWRI explains that a warmer ferment runs faster, which releases more heat, so a ferment without cooling can run away; it names pumping the liquid through a heat exchanger and back over the cap as the most effective way to cool a red ferment. In a small carboy the practical lever is the room: NDSU suggests moving the wine to a cooler spot once a vigorous fermentation has started.
Common mistake: Copying a temperature range without its context. A range written for a cool white-wine finish and one written for a warm red primary fermentation are both correct for their own wine; neither is a universal setting.
Takeaway: Pick a range that matches your wine style and keep it steady; avoid both runaway heat and repeated swings.
Which yeast should you use?
Use a cultured wine yeast unless you have experience with wild ferments. Both extension guides recommend a known wine strain for beginners, because spontaneous fermentation with the yeasts on the grape skins is slower to start and less predictable, and NDSU says plainly not to use baking yeast. There is no single “best” wine yeast; strains differ in the properties listed below.
| Option | How it works | Why choose it | Watch out for | Source |
|---|---|---|---|---|
| Cultured wine yeast | A selected Saccharomyces strain is rehydrated and added about 24 hours after sulfiting the must | Predictable start and finish; choose by temperature range, alcohol tolerance, speed, lees and aroma | Follow the maker’s rehydration and nutrient instructions | NDSU Extension; CT Agricultural Experiment Station |
| Wild (spontaneous) fermentation | Yeasts already on the grape skins start the ferment | Some winemakers value the body and character it gives | Slower start lets spoilage organisms take hold; less predictable; more prone to sticking | CT Agricultural Experiment Station |
| Wild start, cultured finish | Wild yeasts ferment first; a wine strain is added at about 3–4% alcohol | Combines wild character with a reliable finish | Needs regular gravity readings | CT Agricultural Experiment Station |
| Baking yeast | — | Not suitable | NDSU: “do not use baking yeast” | NDSU Extension |
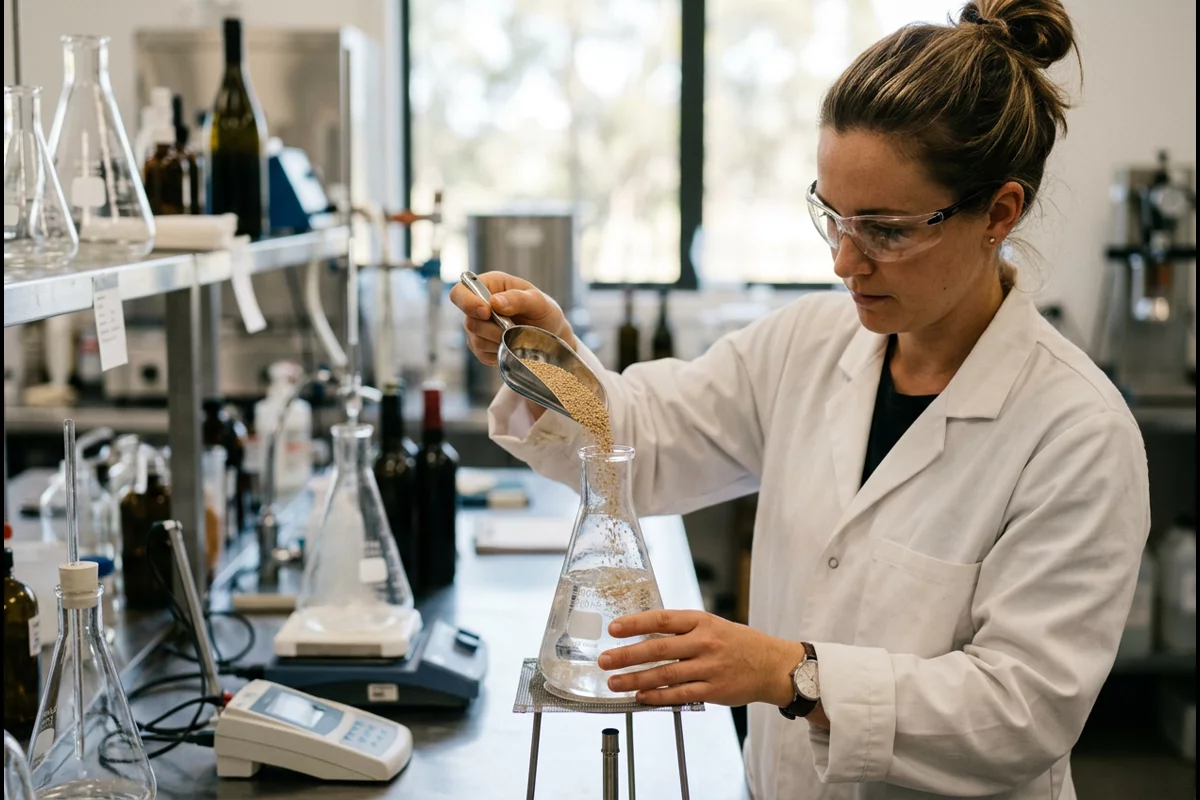
NDSU lists the properties that separate wine strains: temperature tolerance, alcohol tolerance, fermentation speed, how compact the sediment (lees) is, and, perhaps most importantly, the aromas they contribute. Its fruit-wine recipes give EC-1118 and K1-V1116 as examples of suitable strains; those are recipe examples, not a ranking. Yeast also needs nitrogen. NDSU warns that a lack of yeast nutrient stresses the yeast and can produce a rotten-egg (hydrogen sulfide) smell, and Penn State Extension links good nitrogen management to less hydrogen sulfide.
Takeaway: Choose the strain by the conditions it must work in, temperature and expected alcohol first, then aroma, and feed it.
How do you know fermentation is finished?
Fermentation is finished when the specific gravity stays the same for several days at a dry level and a residual-sugar test confirms almost no fermentable sugar remains. For a dry wine that means a reading close to 0.990, the low end NDSU Extension gives; the exact figure shifts with alcohol and other dissolved solids. Gravity alone cannot tell a finished wine from a stalled one, which is why the residual-sugar check matters.
| Check | How | What it tells you | What it cannot tell you | Source |
|---|---|---|---|---|
| 1. Stable gravity | Same hydrometer reading on several consecutive days | Sugar is no longer falling | Whether it stopped at dry or stalled with sugar left | WineMaker Magazine (2022) |
| 2. Corrected reading | Correct for the temperature your hydrometer is calibrated at; spin it to shed CO2 bubbles; read at eye level | The reading is real, not an artefact | Alcohol and dissolved solids still shift density | WineMaker Magazine (2022) |
| 3. Residual sugar test | Reducing-sugar tablet (Clinitest) or a laboratory test once gravity is near 0.990 | How much sugar is left; commercially “dry” is under 1 g/L glucose plus fructose, or under 2 g/L total reducing sugars | Red wine pigments push tablet results slightly high | Purdue Extension; WineMaker Magazine (2022) |
| 4. Malolactic status | If MLF was wanted: paper chromatography until the malic acid spot disappears. If not: keep sulfite up so it does not start | No spot means under about 30 mg/L of malic acid; commercially, a completed MLF is assumed to leave under 0.3 g/L | The test is semi-quantitative; a wine that skipped MLF can still start it later if protection lapses | Purdue Extension; CT CAES; NDSU Extension |
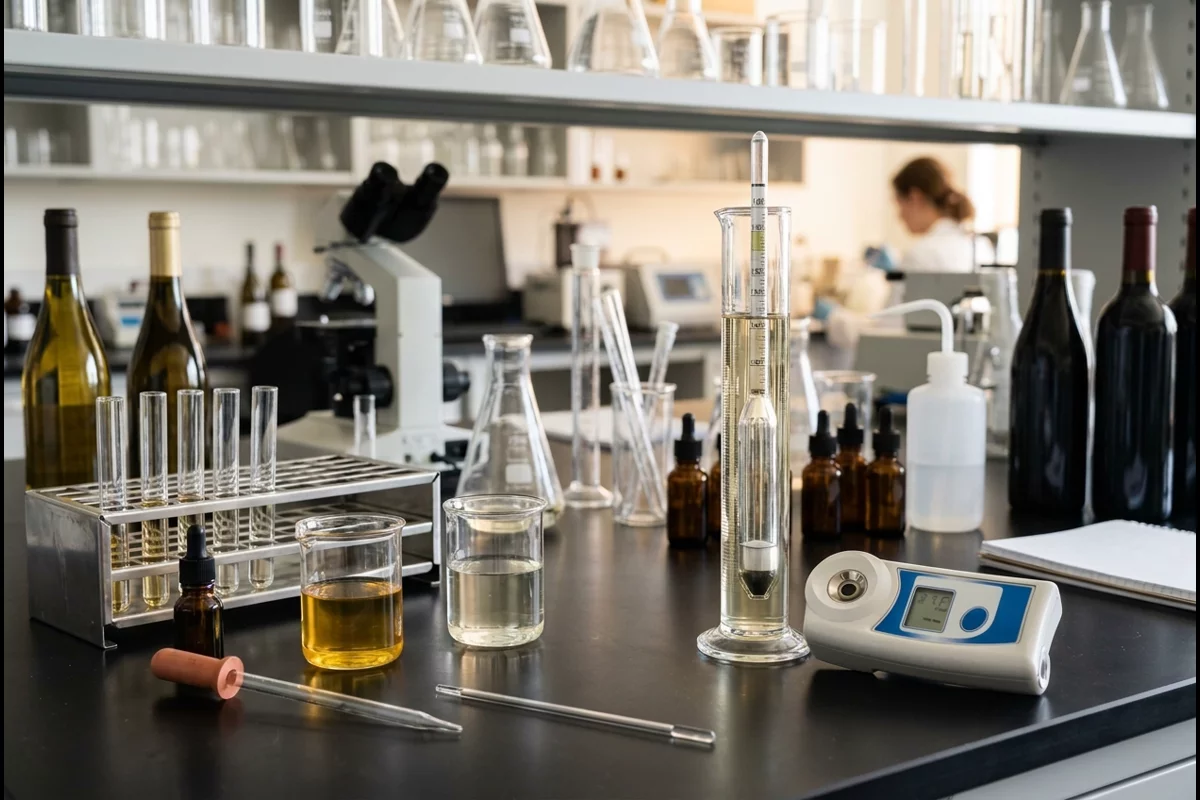
Purdue Extension draws a useful line: tasting dry and being microbially stable are different things, and the second is what matters once the wine is sealed under a cork or screw cap. Sweetness becomes noticeable at about 5 g/L of residual sugar in a dry wine of average acidity, yet even 0.2 g/L can feed spoilage yeast or bacteria. That is why the threshold for bottling is set by a test, not by taste.
Common mistake: Waiting for the airlock to stop bubbling. Bubbles are a poor clock in both directions: a WineMaker Magazine reader (2022) still saw bubbling after the gravity had held steady for days, and a stalled ferment goes quiet with sugar left. The Connecticut guide uses the end of bubbling only as the cue to take another reading.
The next step, clearing and stabilising, is covered below; when the wine is ready, the bottling guide’s pre-bottling checks pick up from here. Check 4 above is Purdue’s chromatography reading. Malolactic fermentation completion tests is where to choose chromatography, an enzymatic assay, or a laboratory report, and where to record the detection limit.
Takeaway: Record a stable, corrected gravity and confirm it with a sugar test before calling a fermentation finished.
What if fermentation stops too early?
A fermentation that stops with sugar left is called stuck; one that slows to a crawl is sluggish. The Connecticut guide lists four common causes, and each points to a different response, so identify the cause before adding anything.
| Cause | Sign | First response | Source |
|---|---|---|---|
| Too much sugar in very ripe grapes, so alcohol overwhelms the yeast | High starting gravity; stops at high alcohol | Rescue with an acclimatised, alcohol-tolerant yeast | CT Agricultural Experiment Station; AWRI TN05 |
| Too little yeast nutrient | Slow ferment, rotten-egg smell | Nutrient additions as the yeast maker directs | CT Agricultural Experiment Station; NDSU Extension |
| Unsuitable wild yeast | Erratic, unpredictable progress | Inoculate with a known wine strain | CT Agricultural Experiment Station |
| Overheating | Must temperature near 104 °F (40 °C); AWRI flags above 35 °C | Bring the temperature back into range and hold it steady before any restart | CT Agricultural Experiment Station; AWRI |
For the hard cases the AWRI publishes a rescue procedure. It is meant for ferments above 12% alcohol with more than about 5–10 g/L of sugar left that have not responded to standard measures such as aeration, nutrients, yeast hulls or more yeast. The first step is to warm the wine to 18–22 °C, and the yeast is acclimatised gradually to the wine before it is added. The AWRI also notes that most stuck ferments hold more fructose than glucose, which is why it suggests considering a fructophilic (fructose-preferring) rescue yeast.
Takeaway: Find the cause first, temperature, nutrients, alcohol or yeast, and only then restart.
What happens between fermentation and bottling?
After fermentation the wine still needs protecting and stabilising before it goes into bottles: racking off the lees, topping up, sulfur dioxide, clarifying and, for many whites, cold stabilising. The Connecticut guide treats a wine as ready to bottle only when fermentation and any malolactic fermentation are complete, the wine is fined and cold stabilised and the residual sugar has been fermented.
| Step | Why | Detail in the sources | Source |
|---|---|---|---|
| Rack and top up | Removes yeast sediment; limits oxygen | Repeated rackings over weeks or months; fill to an inch or two below the stopper | NDSU Extension |
| Sulfur dioxide | Protects against oxidation and spoilage | About ¼ teaspoon of metabisulfite per 5 gallons after fermentation if MLF is not wanted | CT Agricultural Experiment Station |
| Clarify | Removes haze-forming proteins | Bentonite, hydrated for at least three hours before adding | CT Agricultural Experiment Station |
| Cold stabilise (mostly whites) | Drops tartrate crystals before bottling | 32–38 °F for several weeks | CT Agricultural Experiment Station |
| Sorbate, only if sugar remains | Stops yeast from multiplying in the bottle | Use with adequate sulfite, or a “geranium” smell can develop | NDSU Extension |
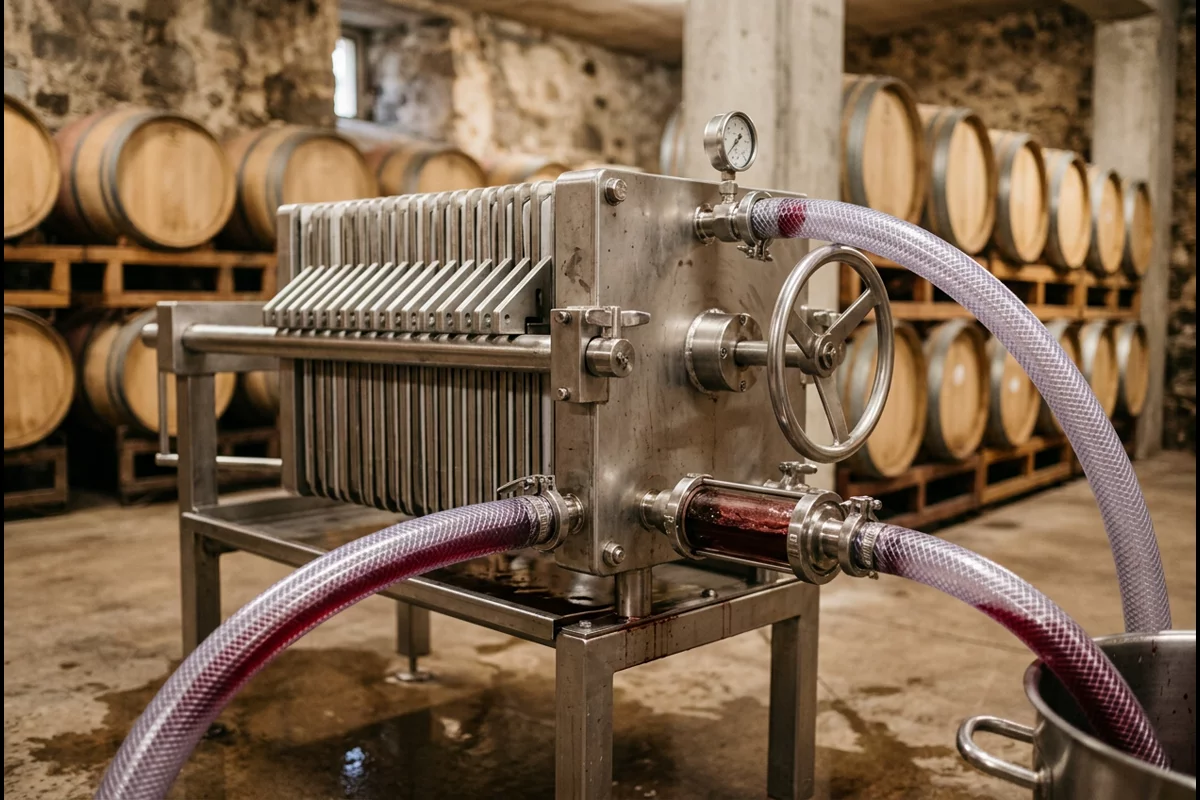
The reason for the caution is gas. Purdue Extension calculates that about 1,000 mg/L of leftover fructose ferments into nearly 500 mg/L of carbon dioxide, and gives about 1,400 mg/L at 20 °C as the saturation point beyond which carbonation can push corks out, depending strongly on the bottle’s headspace and closure; a malolactic fermentation that restarts in the bottle releases gas in the same way. Our guide on how to bottle wine step by step covers fill height and corking, and the bottling equipment guide explains which tools suit which batch size. Other articles on cellar work are collected in the Winemaking section, and bottling topics in the Bottling section.
Takeaway: Bottle only a wine that is dry or deliberately stabilised, with MLF finished or prevented, and clear.
When this does not apply
The stages and figures above describe still, dry wine made in small batches. They do not carry over unchanged to:
- Sparkling wine. A second fermentation in the bottle is deliberate and needs bottles and closures built for pressure.
- Sweet and fortified wines. Fermentation is stopped on purpose or the wine is sweetened afterwards, and stability then depends on the method used, such as sorbate with adequate sulfite.
- Fruit wines. Starting gravities, recipes and timings differ; the NDSU publication gives separate recipes.
- Commercial production. Wineries work under federal and state rules on additions and labeling that this page does not cover.
- Health or drinking advice. This page explains a process; it says nothing about drinking wine.
For the wider process, browse all articles on this site. Timings, temperatures and thresholds come from the cited guides and apply under their stated conditions; confirm them against the instructions for your yeast and additives.
Takeaway: Use the numbers here as the sources’ guidance for dry still wine, and look up method-specific guidance for anything else.
How this page was put together
We compiled this page from extension publications by NDSU (FN1638, reviewed August 2026), Purdue (FS-56-W) and Penn State, the Connecticut Agricultural Experiment Station’s home-winemaking fact sheet, three AWRI resources (2020 fact sheets and its fermentation temperature page), a 2022 WineMaker Magazine answer on judging completion, a 2021 scientific review of bottle aging and the federal label regulations in 27 CFR Part 4, all read on October 7, 2026. Where sources give different ranges, both are shown with their context. Nothing here comes from our own tasting or testing.
Takeaway: Read every figure here with its source and conditions, and check your yeast and additive instructions before relying on it.
Related reading:
- Home winemaking for beginners — See where fermentation sits in the full crush-to-bottle sequence and which equipment it needs.
- How to bottle wine — Run the pre-bottling checks and fill, cork and rest the bottles.
- Wine bottling equipment — Match fillers and corkers to the size of your batch.