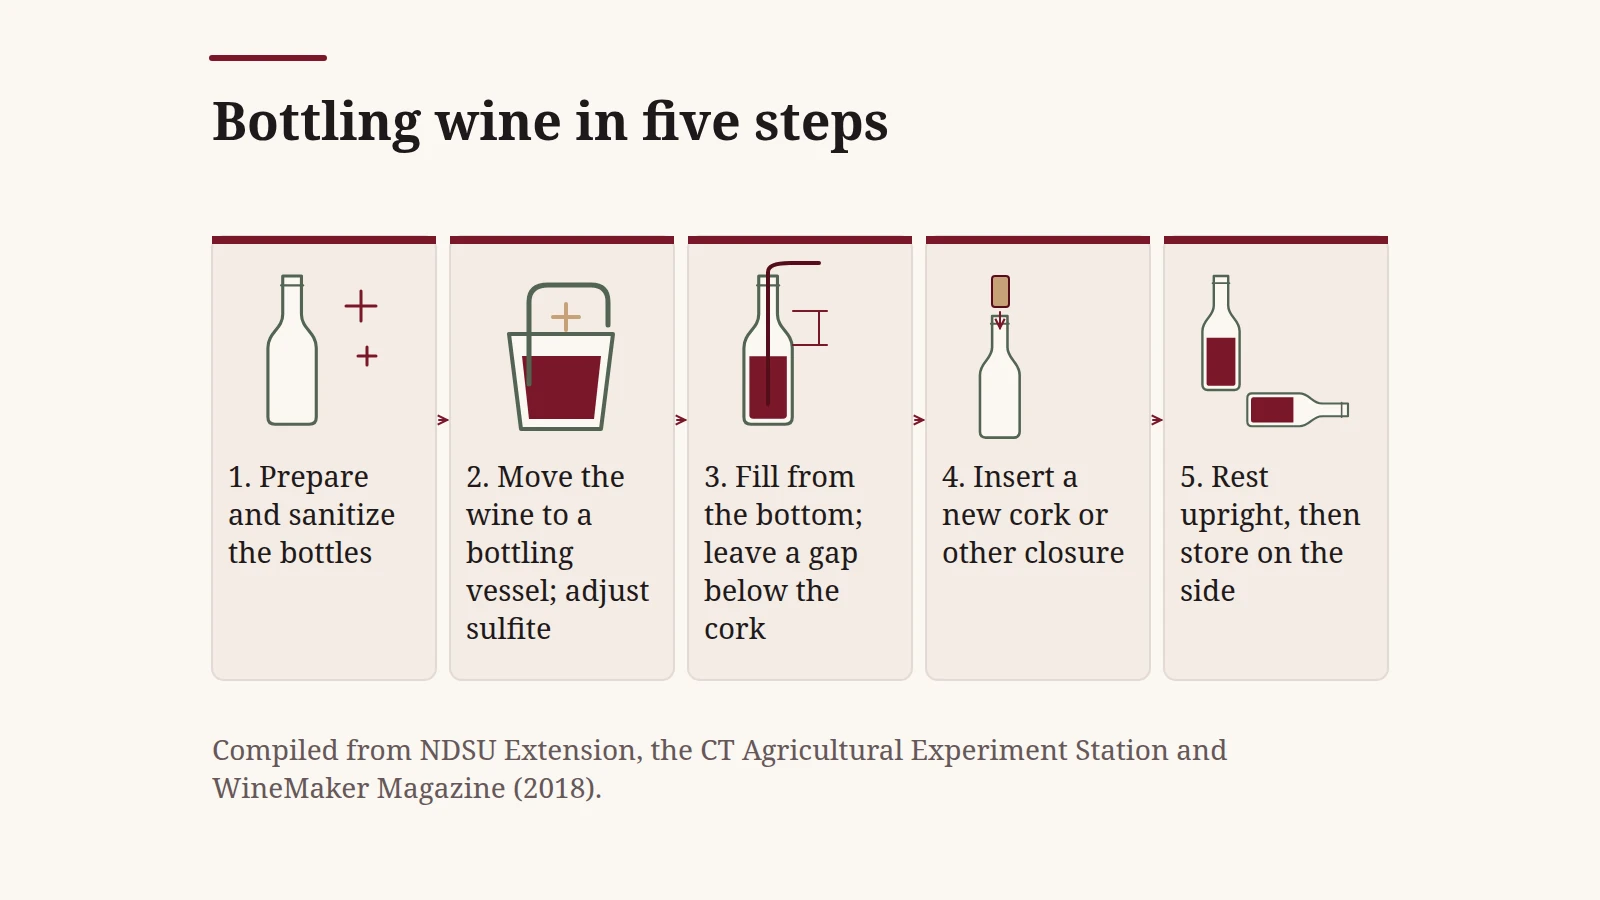
Bottling too early, or with a careless fill, wastes a batch: corks get pushed out, bottles leak or the wine clouds in the bottle. Bottle wine only once it is clear, its fermentations are finished and its sulfite is adjusted, then work through five steps: sanitize the bottles, move the wine to a bottling vessel, fill from the bottom leaving a small gap, seal with a new cork or other closure, and rest the bottles upright before laying them down.
To bottle wine, wait until it is clear and stable, fill sanitized bottles from the bottom without splashing, leave a small gap below the cork, insert new corks flush with the rim, stand the bottles upright for a few days, then store them on their sides in a cool, dark place. The Connecticut Agricultural Experiment Station fills to within about ¼ inch of the bottom of the cork, leaving room for the wine to expand if it warms. For 750 mL bottles, plan about five bottles per gallon of wine, the ratio NDSU Extension uses.
This page compiles US extension publications, Penn State’s bottling notes for wineries, WineMaker Magazine and federal regulations, all read on October 7, 2026. It covers small-batch bottling of still wine, by hand or with simple fillers; it does not sell wine or give drinking advice.
Key points:
- Readiness first. Clear, dry or stabilised, malolactic fermentation finished or prevented, sulfite adjusted.
- Five steps. Bottles, bottling vessel, fill, seal, rest.
- Leave a small gap. About ¼ inch below the cork in the Connecticut guide; warmer wine expands.
- Wine keeps changing. A temporary “bottle shock” can follow bottling, then development continues slowly with very little oxygen.
When is wine ready to bottle?
Wine is ready to bottle when it is clear, its alcoholic fermentation is finished and dry (or the wine is deliberately stabilised), any malolactic fermentation is complete, and its sulfur dioxide has been adjusted. The Connecticut guide adds protein and cold stability for wines that need them. Each check prevents a specific failure in the bottle.
| Check | Ready when | Prevents | Source |
|---|---|---|---|
| Clarity | Racked off all sediment; clear | Haze and sediment in the bottle | NDSU Extension; CT CAES |
| Alcoholic fermentation | Dry: stable gravity and a residual sugar test; commercially dry is under 1 g/L glucose plus fructose | Refermentation, gas, pushed corks | Purdue Extension; WineMaker Magazine (2018) |
| Sweet or sweetened wine | Potassium sorbate added with adequate sulfite, in wine that has not gone through MLF; for sweet wine that has, get your supplier’s stabilising advice | Yeast growth in the bottle; a “geranium” smell if sorbate meets malolactic activity | NDSU Extension; WineMaker Magazine (2018) |
| Malolactic fermentation | Complete (malic acid at or below about 0.3 g/L), or deliberately prevented | Cloudiness, leaking, corks forced out | CT CAES; Penn State Extension (2017) |
| Protein stability (mostly whites) | Fined, commonly with bentonite, so protein haze does not form if the wine warms. The bentonite timing record keeps a kit sheet, a juice addition, and a final blend separate | Haze in the bottle | CT CAES; WineMaker Magazine (1998) |
| Cold stability (mostly whites) | Held near freezing so tartrates drop out; use the home cold-treatment and final-test record to check temperature control, cold separation and the finished blend | Crystals in chilled bottles | CT CAES |
| Sulfur dioxide | Free SO2 set for the wine’s pH | Oxidation and spoilage | CT CAES; Penn State Extension (2017) |
A hydrometer alone cannot prove a wine will not referment, because alcohol and dissolved solids also change its density, so WineMaker’s 2018 guide confirms dryness with a residual sugar test. The four checks for a finished fermentation explain the readings in more detail, and the steps between fermentation and bottling cover clearing and stabilising.
Takeaway: Do not set a bottling date until every check in the table passes; the wine sets the date, not the calendar.
What do you need on bottling day?
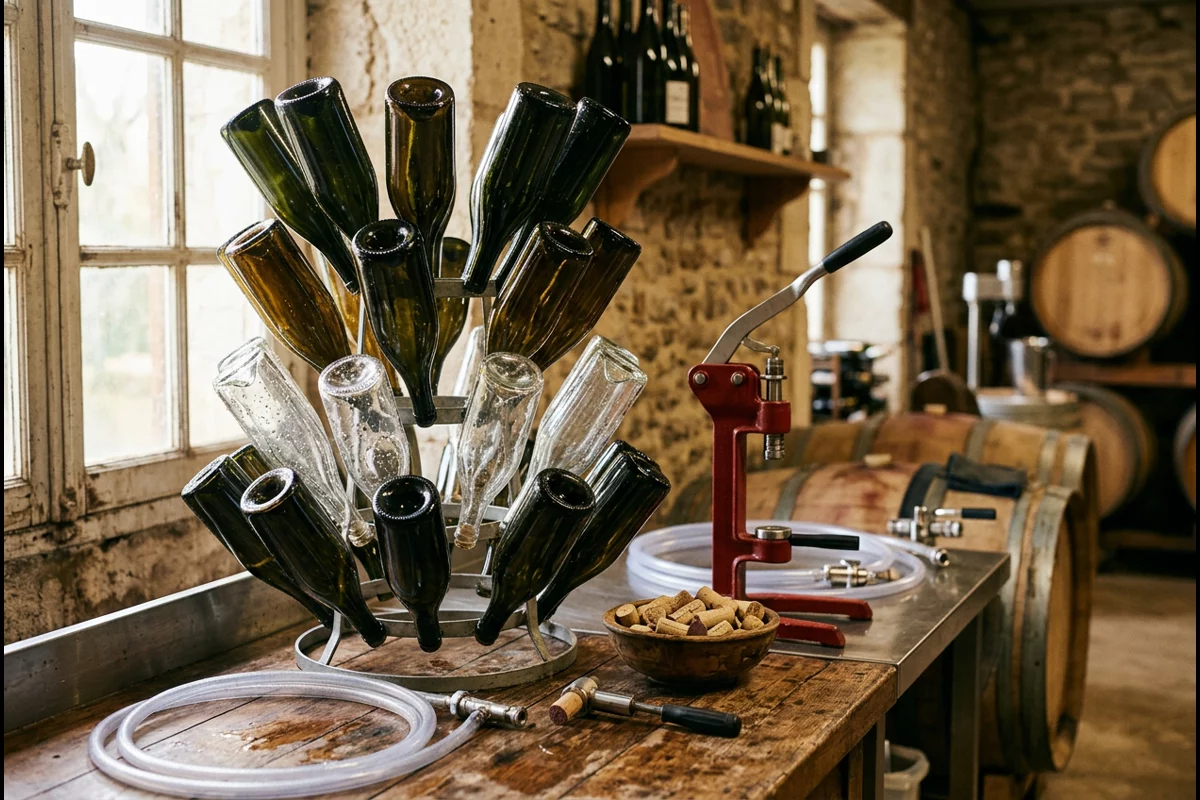
You need enough sanitized bottles, new corks of the right size, a filler, a corker, a bottling vessel, sanitizer and somewhere to stand the filled bottles. Count about five 750 mL bottles per gallon of wine (NDSU Extension equates 100 gallons with about 500 bottles), so a 5-gallon carboy needs about 25.
| Item | Quantity or specification in the sources | Why it matters | Source |
|---|---|---|---|
| Bottles | About 5 × 750 mL per gallon | Running short mid-fill exposes wine to air | NDSU Extension |
| Corks | New; No. 9 for most US-made bottles, No. 8 for some narrower imported necks | Wrong size leaks or will not go in | NDSU Extension |
| Bottling vessel | A sanitized bucket or tank to rack into | Keeps sediment out of the bottles | WineMaker Magazine (2018) |
| Filler | Siphon hose with a push-valve filler wand, or a multi-spout gravity filler | Fills from the bottom with little splashing | WineMaker Magazine (2018) |
| Corker | Floor corker preferred over hand-held lever models | Seats corks flush and evenly | NDSU Extension; WineMaker Magazine (2018) |
| Sanitizer | No-rinse sanitizer or sulfite solution | Kills microbes on bottles and tools | NDSU Extension; WineMaker Magazine (2018) |
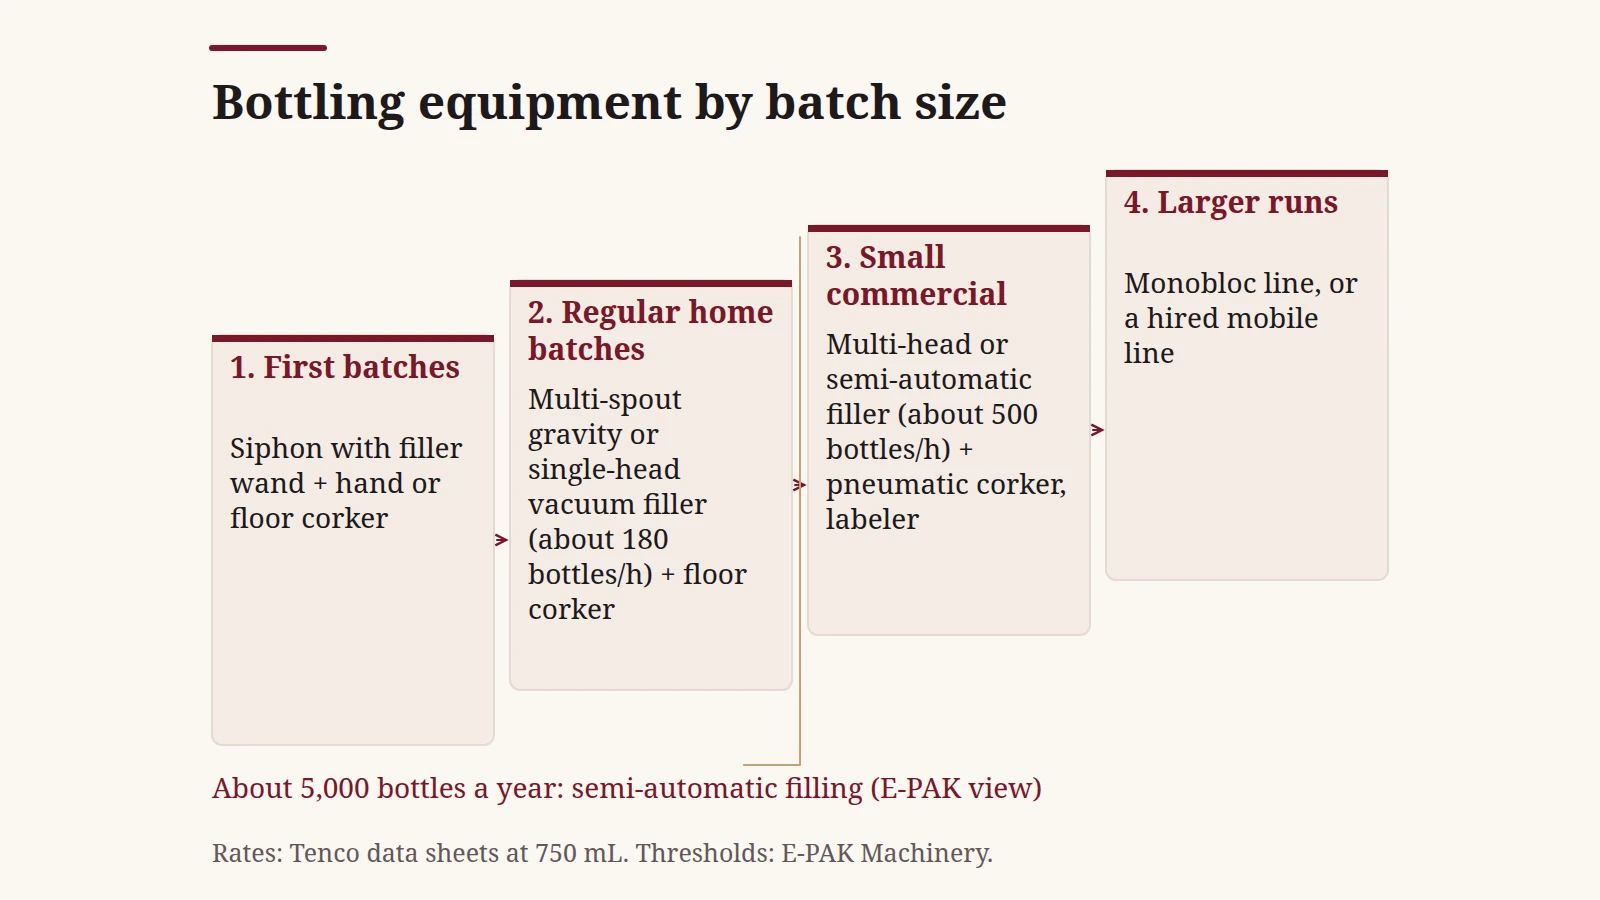
Which filler and corker suit your batch size, and when a bigger machine is worth it, is covered in our guide to wine bottling equipment.
Takeaway: Count bottles and corks against the volume of wine before you start, and set everything out sanitized and within reach.
Step 1 — Prepare and sanitize the bottles
Clean used bottles inside and out, then sanitize every bottle, new or used, just before filling. NDSU Extension soaks used bottles in hot, soapy water to loosen labels, scrubs the inside with a bottle brush and rinses thoroughly, then rinses with a no-rinse sanitizer just before bottling and lets the bottles drain.
| Bottle | What to do | Avoid | Source |
|---|---|---|---|
| Used bottles | Soak off labels; scrub with detergent and a bottle brush; rinse; sanitize just before filling | Bleach and antibacterial soaps containing triclosan; chipped bottles | NDSU Extension; WineMaker Magazine (1998) |
| New bottles in their case | Sanitize as for used bottles if in doubt; they are sterile when made but collect dust from the cardboard case | Assuming the case kept them clean | WineMaker Magazine (2018); Penn State Extension (2015) |
Penn State Extension, writing for wineries, names the filler spouts, corker, bottle sanitizer and the bottle mouth among the main contamination points on a bottling line; the same points apply to a bucket and wand at home. It also notes that potassium sorbate does not protect wine from contamination during bottling; cleaning and sanitizing are what reduce the microbes and the risk of spoilage.
Takeaway: Sanitize bottles immediately before filling, and treat every tool that touches the bottle mouth as a contamination point.
Step 2 — Move the wine to a bottling vessel and make final adjustments
Make the final additions in the bulk wine at least a day ahead, then on bottling day rack it gently into a clean, sanitized bottling vessel so the bottles fill from wine with no sediment, and check its free sulfur dioxide there. An open bucket or tank exposes the wine to air (WineMaker Magazine, 2018), so allow for that in the sulfite target set the day before.
- Make additions early. Penn State Extension advises that most additions, including sulfur dioxide and potassium sorbate, need at least 24 hours in the wine before it is filtered and bottled.
- Set sulfite by pH. Higher-pH wines need more free sulfur dioxide for the same protection; Penn State gives 0.85 ppm molecular SO2 as the commercial target and notes that wines above pH 3.70 need noticeably more.
- Allow for the loss. At wineries, Penn State reports bottling typically strips about 10 ppm of free sulfur dioxide, depending on the line.
- If the reading is short, wait. Penn State’s advice for wineries is to measure free SO2 at several points in the tank on bottling day and, if it is too low, adjust and bottle another day.
- Do not stir up the lees. Siphoning straight from a carboy with sediment carries it into the bottles.
If the wine is still in a carboy because you have no separate vessel, siphon gently from just above the sediment. The racking and clearing step of our beginner’s guide explains how many rackings to expect before this point.
Takeaway: Add a day ahead, rack gently on bottling day and check the sulfite; if it is short, adjust and bottle another day.
Step 3 — Fill to the right level
Fill each bottle from the bottom, without splashing, and leave a small air gap between the wine and the bottom of the cork. The Connecticut guide fills to within about ¼ inch of the cork; both WineMaker bottling guides explain why some space is needed: the wine expands if the cellar warms, and without room it pushes the cork or leaks.
| Fill factor | What the sources say | Source |
|---|---|---|
| Gap below the cork | Fill to within about ¼ inch of the cork bottom | CT Agricultural Experiment Station (2019) |
| How to reach it | Fill to the rim with a racking cane or wand; lifting it out leaves the gap | CT Agricultural Experiment Station; WineMaker Magazine (2018) |
| Why a gap | Room for the wine to expand if it warms, but not a large air space | WineMaker Magazine (1998, 2018) |
| How to fill | From the bottom of the bottle, without splashing | WineMaker Magazine (1998, 2018) |
| Temperature | Fill height depends on wine temperature; bottling lines check it against a fill table | UC Davis bottling presentation (2019) |
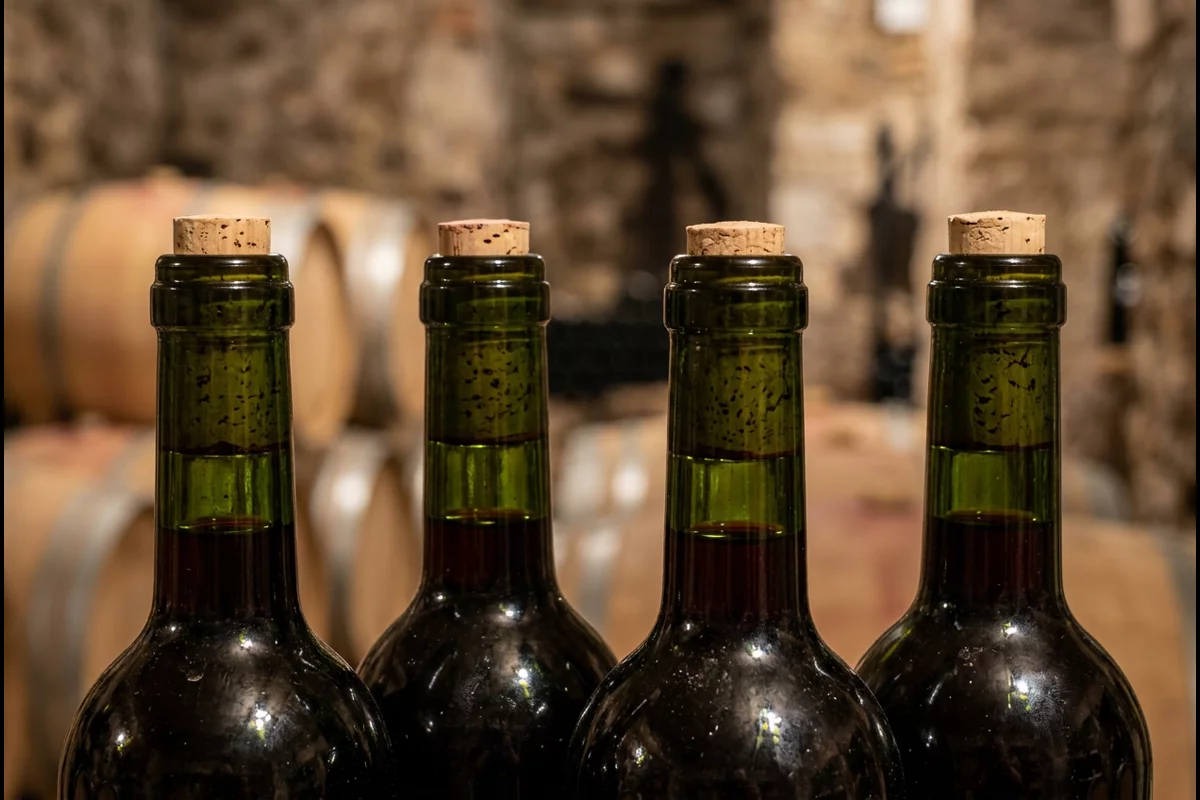
With a simple push-valve filler, the Connecticut guide and WineMaker’s 2018 guide describe the same method: rest the tip on the bottom of the bottle, let the wine rise until it almost overflows, then lift the filler out; the volume of the tube leaves the gap. Temperature changes the result. A UC Davis bottling-readiness presentation (2019) treats fill point and headspace against wine temperature as a standard bottling-line check, so fill all the bottles at the same, normal cellar temperature.
Common mistake: Filling right up to where the cork will sit. With no gap there is no room for the wine to expand as it warms, and WineMaker’s 2018 guide warns that expansion then pushes the cork out or forces a leak.
Takeaway: Fill from the bottom to a consistent level, leave a small gap below the cork, and bottle at a steady temperature.
Step 4 — Insert the cork or other closure
Insert a new cork so it sits flush with the top of the bottle, using a floor corker if you have one; WineMaker’s 2018 guide calls floor corkers far superior to hand-held lever models. Use corks straight from a properly sealed bag; soaking or boiling them damages them.
| Closure | How it is applied at home | Strength | Limit | Source |
|---|---|---|---|---|
| Natural cork | Corker compresses and inserts it | Traditional; suits long cellaring | Must be new and in good condition | WineMaker Magazine (2018); NDSU Extension |
| Agglomerated or “twin-disk” cork | Corker | Lower cost | The 2018 author keeps solid natural corks for long cellaring | WineMaker Magazine (2018) |
| Synthetic cork | Corker | No risk of cork taint | Some brands are hard to insert with manual corkers | WineMaker Magazine (2018) |
| Roll-on screw cap | Needs a capping machine | Common commercially | Not practical at home; single use | WineMaker Magazine (2018) |
| T-cork or reused screw cap | By hand | Easy | Looser seal; the 1998 guide warns oxidation follows, so only for short keeping | WineMaker Magazine (1998) |
| Crown cap | Bottle capper | Easy for short-term home storage | Not for aging the way cork allows | WineMaker Magazine (1998) |
| Glass stopper or Zork-type stopper | By hand | Reliable seal | Bottles and stoppers must come from the same supplier to fit | WineMaker Magazine (2018) |
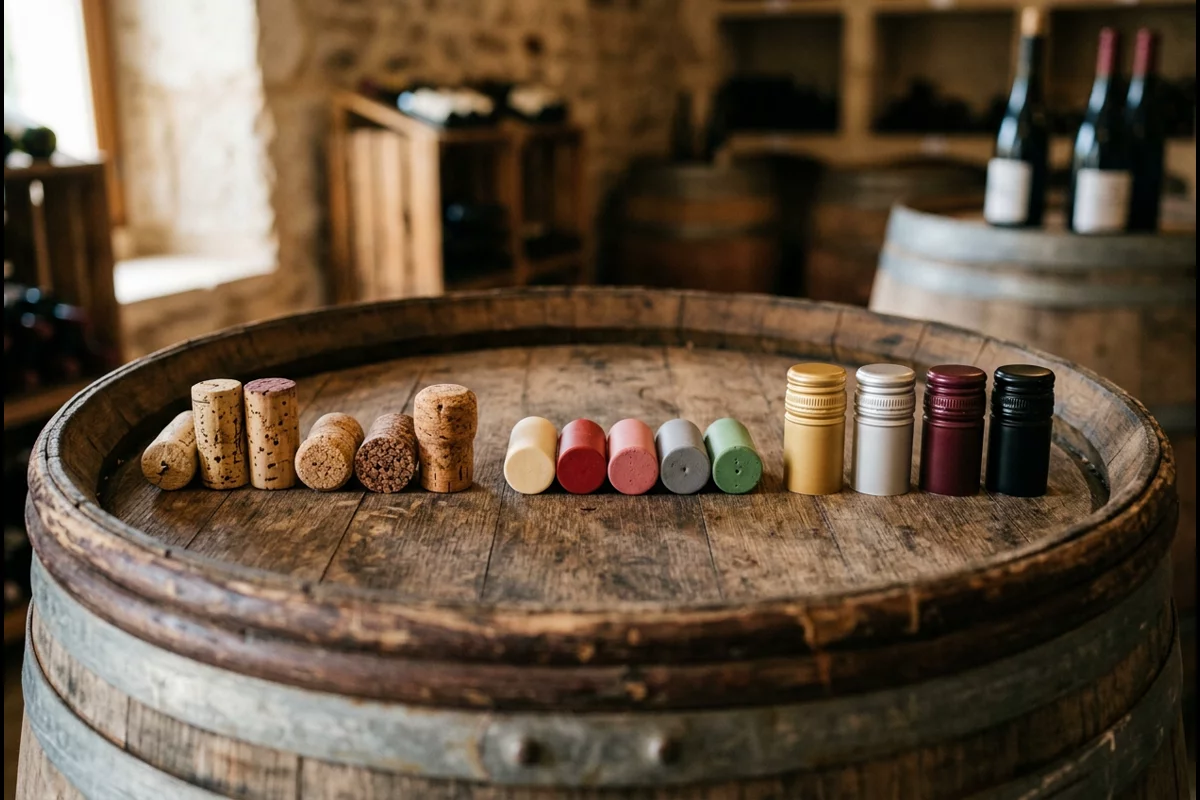
Pushing a cork in compresses the air below it, so each corked bottle starts with slight pressure inside (WineMaker Magazine, 2018). If corks have been stored a while, the 2018 guide suggests only a brief dip in a weak sulfite solution, citing winemaking author Daniel Pambianchi, and warns that a cork you can snap with your hands is too dry to use.
Common mistake: Boiling corks or soaking them for hours “to be safe”. WineMaker’s 2018 guide warns against long soaking and says not to boil corks at all.
Closures and capsules for larger runs are part of the equipment guide’s stage-by-stage checklist.
Takeaway: Use new, correctly sized corks, insert them flush with a floor corker, and pick another closure only knowing its limit.
Step 5 — Rest, store and record
Stand freshly corked bottles upright for a few days so the pressure inside equalises and the cork expands to seal the neck, then lay them on their sides in a cool, dark place (NDSU Extension; CT Agricultural Experiment Station). Both WineMaker bottling guides give the same reason for the upright rest: corking compresses the air below the cork.
| After bottling | Why | Source |
|---|---|---|
| Upright for a few days | Lets the pressure equalise and the cork expand before the wine touches it | NDSU Extension; CT CAES; WineMaker Magazine (1998, 2018) |
| Then on the side, cool and dark | Keeps corks moist; limits light damage and colour change | NDSU Extension |
| Screw-capped bottles upright | No cork to keep moist | CT CAES |
| Label with wine and date | Records what went in and when | NDSU Extension |
| Keep the bottling readings | A baseline if something changes later | Penn State Extension (2017) |
Penn State, writing for wineries, recommends recording the sugar level going into the bottle as a baseline; if bottles later referment, comparing a new test with that baseline helps assess whether yeast refermentation is the likely cause. At home, the same record is simply the final gravity and sugar test written on the batch sheet.
Takeaway: Rest the bottles upright, store them on their sides, and write down the date and final readings.
Does wine change after bottling?
Yes. NDSU Extension describes a temporary change after bottling called “bottle shock”, which can last three weeks or more, and the wine then keeps developing slowly with very little oxygen. A 2021 scientific review describes the main results of bottle storage as lower astringency and bitterness, better aroma and a lighter, more stable colour, driven by the small, controlled amount of oxygen that reaches the wine.
| Period | What happens | Source |
|---|---|---|
| First weeks | “Bottle shock”: a temporary change that can last three weeks or more; NDSU says experts believe it relates to agitation during bottling or oxygen exposure | NDSU Extension |
| Long term | Slow chemical change with very little oxygen; astringency and bitterness fall, aroma and colour change; closure and storage decide the pace | Echave et al. (2021); WineMaker Magazine (1998) |
| Any time, if unstable | Refermentation: gas, haze and pushed corks | Purdue Extension; CT CAES |
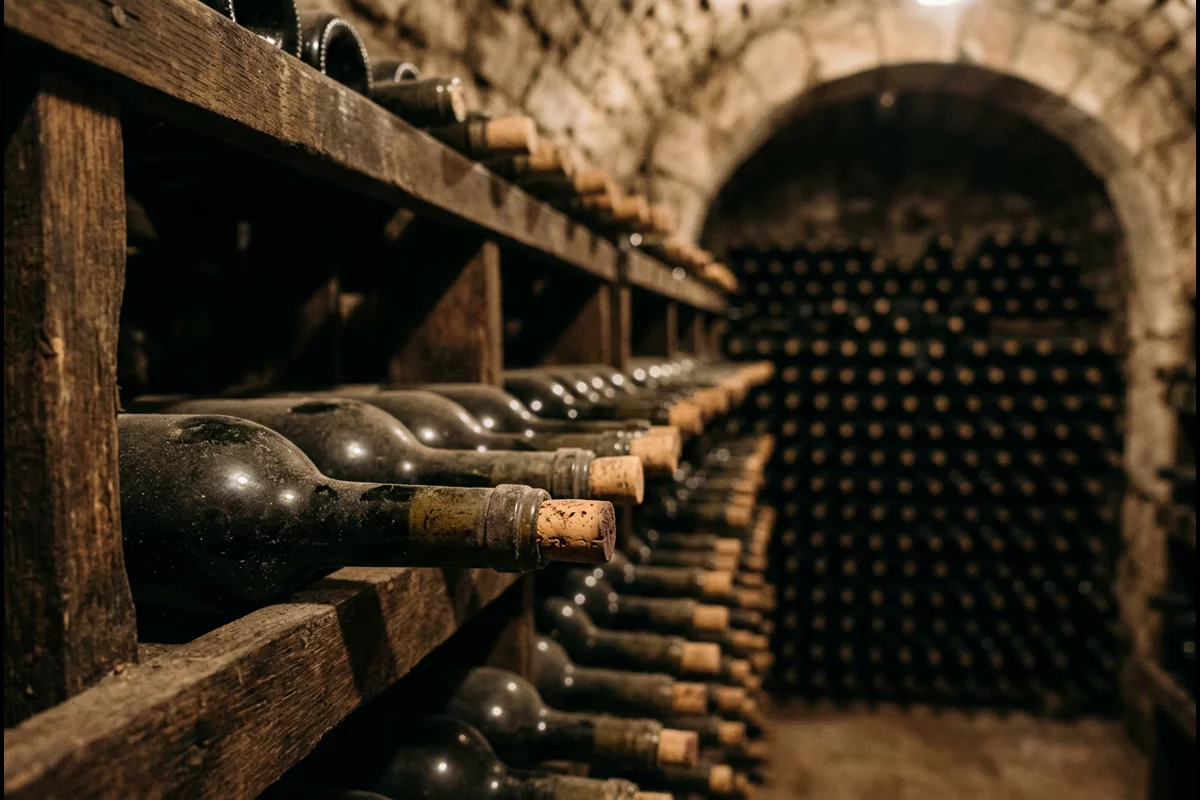
The review attributes these changes to the minimal, controlled passage of oxygen into the bottle, which is why it stresses suitable stoppers, protective sulfur dioxide and stable storage. Not every change is welcome: the Connecticut guide notes that oxidation browns wine, white wine most visibly, when sulfite is low and air contact high. The section on what happens between fermentation and bottling explains the stability work that keeps the long-term changes slow and wanted.
Takeaway: Treat any change in the first weeks as possibly temporary; closure, sulfite and storage decide how the slow change afterwards goes.
If a finished still wine remains unexpectedly spritzy, work through the degassing checks and method choices before filling bottles. Confirm fermentation status first, then choose a treatment suited to the wine and equipment.
What goes wrong at bottling, and how do you prevent it?
Most bottling problems trace back to a wine bottled before it was stable, a careless fill or weak sanitation. The table matches each symptom to its usual cause in the sources and the step that prevents it.
| Symptom | Likely cause | Prevention | Source |
|---|---|---|---|
| Corks pushed out, bottles fizzy | Refermentation from leftover sugar or malic acid; Purdue gives about 1,400 mg/L CO2 at 20 °C as saturation, with headspace and closure deciding whether corks move | Confirm dryness and MLF before bottling; for sweet wine without MLF, sorbate plus sulfite | Purdue Extension; CT CAES |
| Wine leaking past the cork | No headspace, warm storage, or MLF in the bottle | Leave the gap; rest upright; finish MLF | WineMaker Magazine (2018); CT CAES |
| Haze or sediment in the bottle | Bottled before clear; yeast growth when sugar remains (Purdue expects visible haze above about 1,000 mg/L without sorbate, sulfite or sterile filtering) | Rack until clear; test sugar | NDSU Extension; Purdue Extension |
| Crystals after chilling | Wine not cold stabilised (tartrates) | Cold stabilise whites before bottling; the crystals are harmless | CT CAES |
| Browning, flat aroma | Too little sulfite and too much air | Adjust SO2; fill gently from the bottom; top up before bottling | CT CAES; WineMaker Magazine (2018) |
| Spoilage smells | Contamination at the filler, corker or bottle mouth | Sanitize every contact point immediately before use | Penn State Extension (2015) |
The setup that limits splashing and contamination at larger volumes, from multi-spout fillers to nitrogen flushing, is covered in the equipment guide. Other bottling topics are collected in the Bottling section.
Takeaway: Check stability, headspace and sanitation before bottling; together they reduce the risk of the failures in the table.
When this does not apply
This page covers still wine bottled in small batches by hand or with simple fillers. It does not cover:
- Sparkling wine. It needs pressure-rated bottles, closures and cages.
- Commercial bottling. Wineries work to federal fill tolerances, label rules and line quality checks beyond this page.
- Specific products. Follow the instructions of your cork, sanitizer or additive supplier where they differ.
- Drinking advice. The changes after bottling are described as chemistry, not as advice on when to drink.
Figures come from the cited sources under their stated conditions. Browse all articles for related topics.
Takeaway: Use these steps for small still-wine batches and look up method-specific guidance for sparkling or commercial bottling.
How this page was put together
We compiled this page from NDSU Extension (FN1638, reviewed August 2026), the Connecticut Agricultural Experiment Station’s home-winemaking fact sheet, Purdue Extension’s note on refermentation, two Penn State Extension posts written for wineries (2015, 2017), a UC Davis bottling-readiness presentation (2019), two WineMaker Magazine bottling guides (1998 and 2018), 27 CFR 4.72 and a 2021 scientific review of bottle aging, all read on October 7, 2026. Numbers on this page come only from extension services, a university presentation, federal rules and a scientific review; the WineMaker guides are used for descriptions, not figures. Nothing here comes from our own bottling or testing.
Related reading:
- Wine fermentation explained — Confirm the fermentation has finished before you plan bottling day.
- Home winemaking for beginners — See the full sequence from fruit to bottle and the equipment list.
- Wine bottling equipment — Decide when a hand filler and corker are enough and when to scale up.