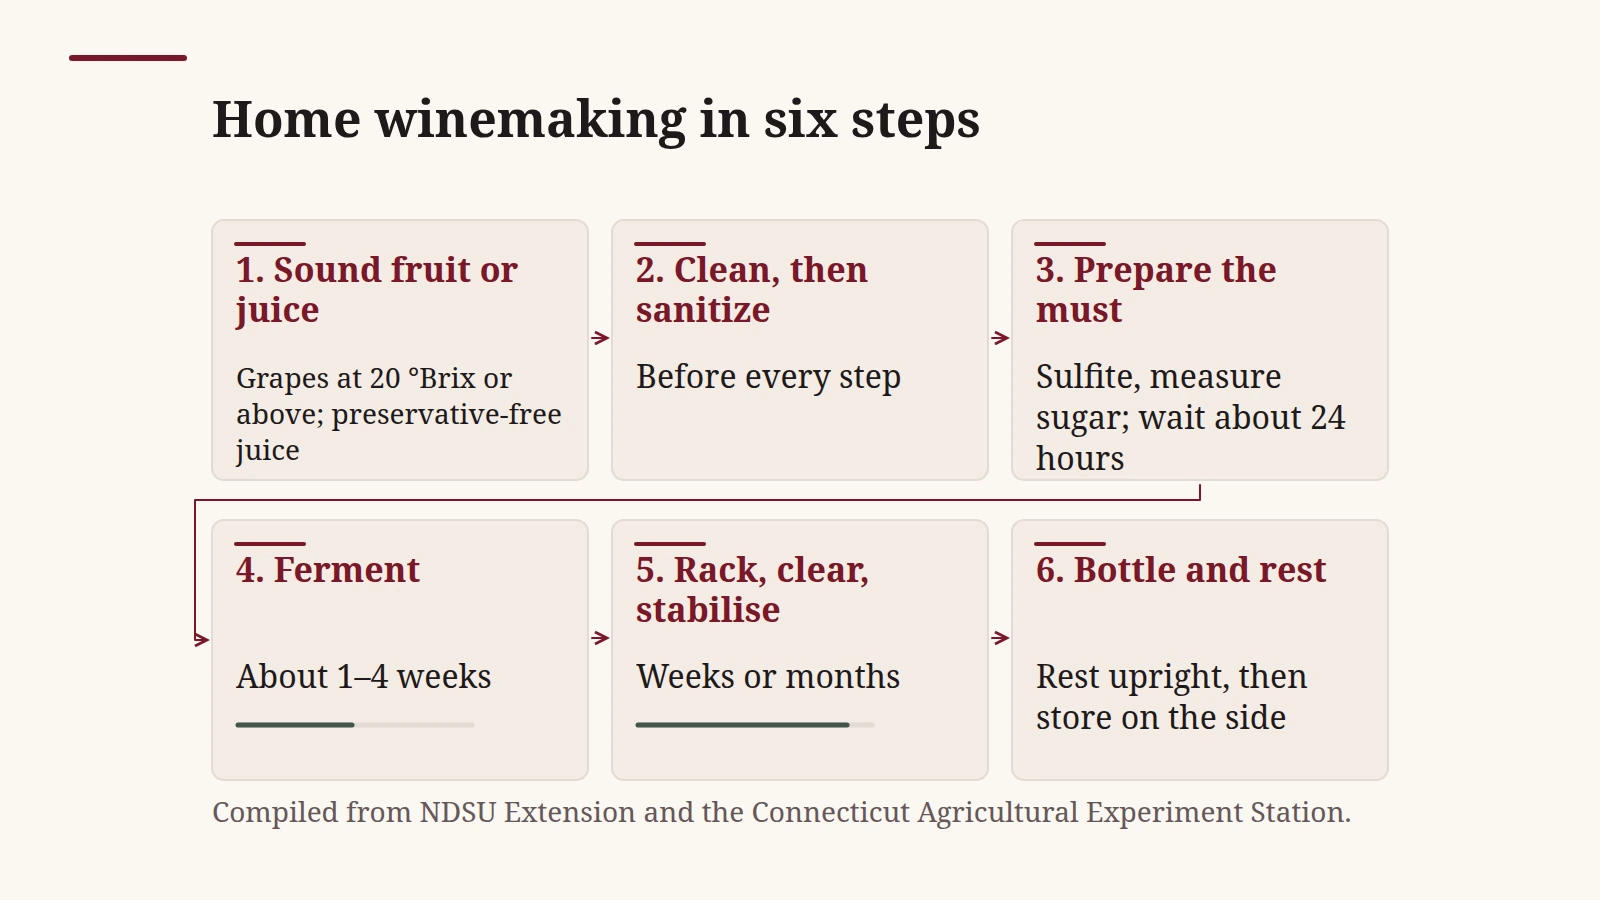
Skipping a step in home winemaking, such as sanitizing the equipment or measuring the sugar, can waste a whole batch as vinegar or as a ferment that stalls with sugar left. Home winemaking comes down to six steps: start with sound fruit or juice, clean and sanitize, prepare the must and measure its sugar, ferment, rack and clear, then bottle and rest the wine.
Making wine at home means extracting juice, fermenting it with wine yeast, clearing and stabilising the wine, and bottling it, with every tool sanitized along the way (NDSU Extension, FN1638, reviewed August 2026). NDSU’s equipment list suits batches of about 1 to 6.5 gallons; the active fermentation takes about one to four weeks and clearing several weeks or months more. In the US, federal law lets an adult make up to 100 gallons a year for a one-adult household, or 200 gallons with two or more adults, for personal or family use and never for sale (27 CFR 24.75, read October 7, 2026); state and local law still applies.
This page compiles NDSU Extension, the Connecticut Agricultural Experiment Station (CT CAES), Purdue Extension and the federal regulation itself, all read on October 7, 2026. It gives the order of work and the checks; the detailed recipes are in the extension publications cited.
Key points:
- Six steps, in this order. Each step depends on the one before it, so do not skip ahead.
- Sanitation protects the batch. Clean first, then sanitize, everything that touches juice or wine; the extension guides link poor sanitation to spoilage and vinegar.
- A hydrometer is the essential instrument. Specific gravity tells you when to add sugar, rack and bottle.
- The law is a quantity limit and a sales ban. Up to 100 or 200 gallons a year, never sold.
What does making wine at home involve?
It involves six steps spread over a few months, most of it waiting: about one to four weeks of active fermentation, then weeks or months of clearing before bottling. The work is concentrated at the start (preparing the fruit, sanitizing and setting up the ferment) and at the end (bottling); the middle is fermentation and clearing, checked with a hydrometer. Two terms recur throughout: the must is the juice, or crushed fruit with its skins, before it becomes wine, and specific gravity is the hydrometer’s reading of its density relative to water (1.000), which falls as yeast turns sugar into alcohol.
| Step | What you do | Typical timing in the sources | Reading or sign | Source |
|---|---|---|---|---|
| 1. Sound fruit or juice | Pick ripe, undamaged fruit or buy preservative-free juice | Harvest day, or juice on hand | Grapes at 20 °Brix or above | NDSU Extension; CT CAES |
| 2. Clean, then sanitize | Wash every tool, then sanitize it | Before every step | Visibly clean; sanitizer per label | CT CAES; NDSU Extension |
| 3. Prepare the must | Add sulfite and recipe ingredients; adjust sugar | Wait about 24 hours before adding yeast | Starting specific gravity, about 1.080 or higher | NDSU Extension |
| 4. Ferment | Add wine yeast; primary in a pail, then secondary in a carboy | About 1–4 weeks | Transfer at specific gravity about 1.020–1.030; finish dry | CT CAES; NDSU Extension |
| 5. Rack, clear, stabilise | Siphon off the sediment, top up, clarify | Several weeks or months | Clear wine; stable readings | NDSU Extension |
| 6. Bottle and rest | Fill sanitized bottles, cork, stand upright, then store on their sides | Bottling day, then a few days upright | New corks; correct fill gap | NDSU Extension |
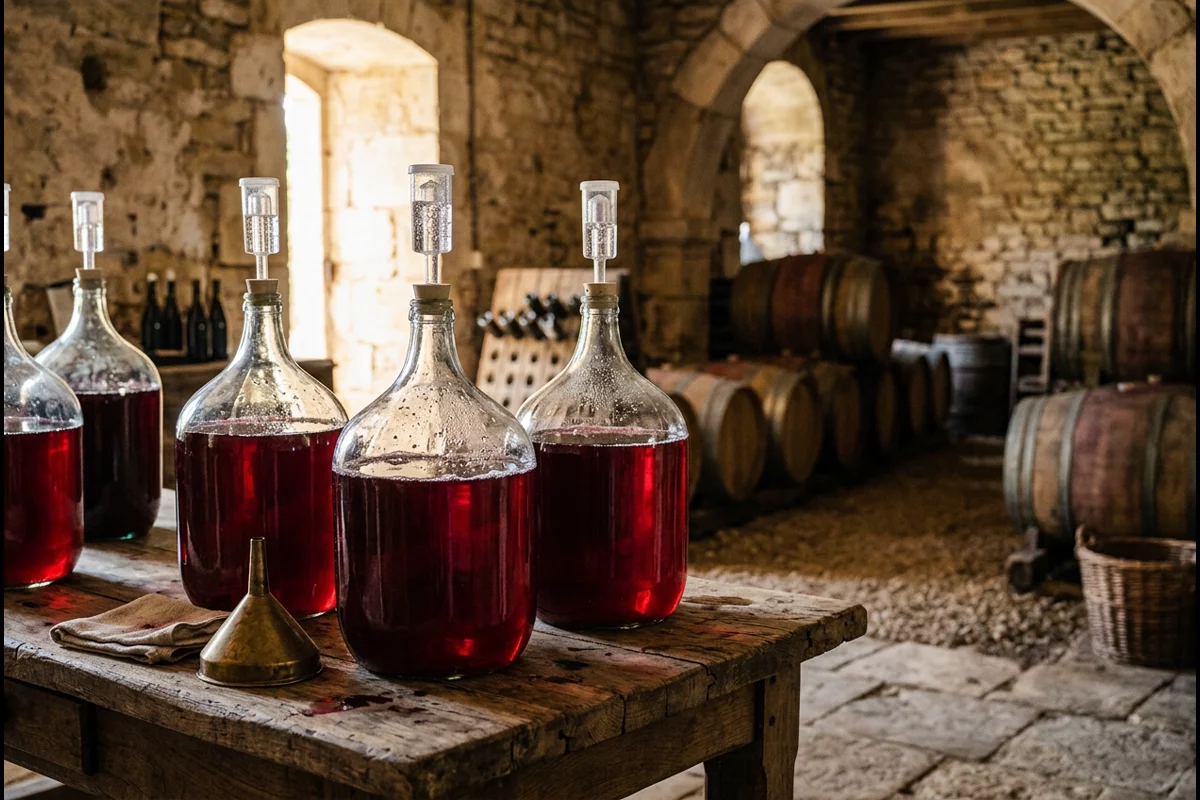
Fermentation itself has stages and its own checks, explained in our guide to how wine fermentation works. This page keeps to the order of work.
Takeaway: Plan the batch around the six steps and their readings, and expect weeks of waiting between the busy days.
What equipment and supplies do you need?
You need a primary fermenter, a carboy with an airlock, a siphon, a hydrometer and thermometer, cleaning and sanitizing products, and bottles, new corks and a corker. NDSU Extension’s list below covers a fruit-wine batch; for grapes, the Connecticut guide adds a crusher-destemmer, a press, pH test strips and, if wanted, malolactic bacteria.
| Stage | Item | What it does | Source |
|---|---|---|---|
| Preparing fruit | Fruit press or nylon straining bag; crusher-destemmer for grapes | Extracts juice | NDSU Extension; CT CAES |
| Preparing fruit | Measuring jug, spoons and a scale | Measures ingredients and additions | NDSU Extension; CT CAES |
| Sanitation | Cleaner, sanitizer (such as potassium metabisulfite) and a capped jug for sanitizing solution; bottle brush | Cleans, then kills wild yeast, bacteria and moulds | NDSU Extension; CT CAES |
| Fermenting | Food-grade plastic pail, 6–8 gallons, and a long-handled spoon | Primary fermenter with room for foaming | NDSU Extension |
| Fermenting | Glass or plastic carboy, 1–6.5 gallons, with fermentation lock | Secondary fermenter; lets CO2 out, keeps air and microbes out | NDSU Extension |
| Measuring | Hydrometer (or refractometer for juice), thermometer, pH strips | Sugar, temperature and acidity readings | NDSU Extension; CT CAES |
| Moving wine | Clear siphon hose with plastic tip, racking cane | Transfers wine off the sediment | NDSU Extension; CT CAES |
| Bottling | Glass wine bottles, new corks, a corker (floor models preferred) | Fills and seals | NDSU Extension |
| Finishing (optional) | Shrink capsules, labels, wine rack | Finishes and stores bottles on their sides | NDSU Extension |
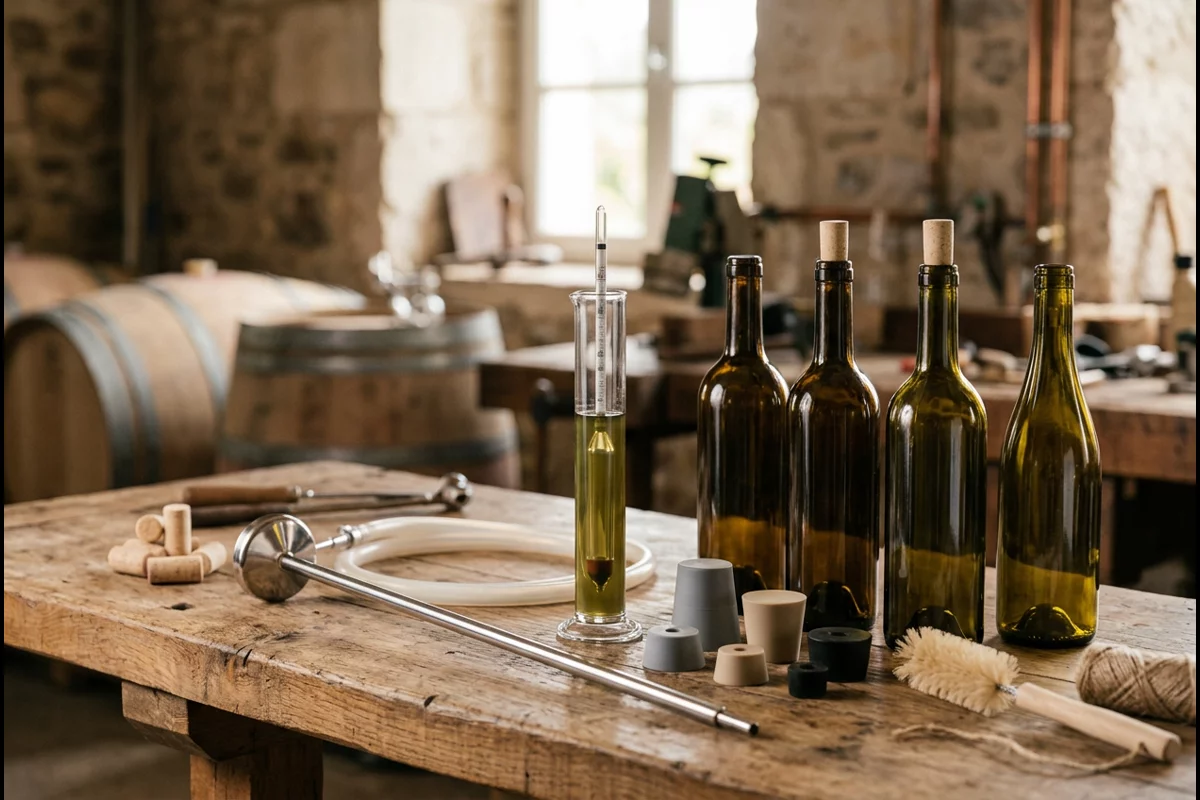
Buy for the size of batch you will actually make: NDSU’s pail and carboy sizes suit batches from 1 to about 6.5 gallons. Bottling tools are the items most worth comparing, and our wine bottling equipment guide explains when a hand siphon and corker are enough and when a multi-spout filler earns its place.
Takeaway: Have the fruit-preparation, measuring, cleaning and fermenting items ready before you start; only the bottles, corks and corker can wait until bottling day.
Step 1 — Start with sound fruit or juice
Start with ripe, clean, undamaged fruit or with pressed juice that contains no preservatives; nothing later in the process repairs poor fruit. NDSU Extension states it directly: good wine can come out of good ingredients, but not out of bad ones. Commercial juice with preservatives can stop the yeast from working.
| Raw material | Typical quantity in the sources | Ripeness or quality target | Source |
|---|---|---|---|
| Wine grapes | About 15–16 lb of fruit per finished gallon; juice used full strength | 20 °Brix or above at harvest; juice pH below 3.6 | CT CAES |
| Other fruit (apple, cherry, berries, rhubarb) | About 3–5 lb per gallon, made up with water | Ripe, not overripe; free of disease, blemishes and insect damage | NDSU Extension |
| Pressed juice | As the recipe states | Preservative-free | NDSU Extension |
°Brix measures sugar as grams per 100 grams of juice (CT CAES); a refractometer reads it from a drop of juice in the field. For grapes, the Connecticut guide reproduces typical harvest targets from the winemaking literature: about 19.5–23.0 °Brix and pH 3.0–3.3 for white table wine, and 20.5–23.5 °Brix and pH 3.2–3.4 for red. Those ranges plan a batch after you have fruit. They are not the signal to harvest a vineyard block. The sampling walk and the blank harvest record are in when wine grapes are ready to pick. Harvest on a dry day and crush soon after picking. With stone fruit, NDSU warns not to crack the pits, which add bitterness.
How the raw material becomes must depends on the route you choose:
| Route | How the juice is extracted | When the solids come out | Source |
|---|---|---|---|
| Preservative-free juice | Already pressed; pour it into the sanitized fermenter | No solids | NDSU Extension |
| Other fruit | Crush or chop, then strain and press through a nylon bag or cheesecloth; some recipes ferment with the pulp in the bag | When the recipe says, often at the move to the carboy | NDSU Extension |
| White grapes | Crush (and usually destem), then press before fermentation | Before fermentation | CT CAES |
| Red grapes | Crush and destem; ferment on the skins | Pressed after about 4–5 days on the skins | CT CAES |
Takeaway: Measure the fruit’s sugar and acidity before you commit to a batch; if the numbers are far off the targets, the recipe will need adjusting.
Step 2 — Clean, then sanitize
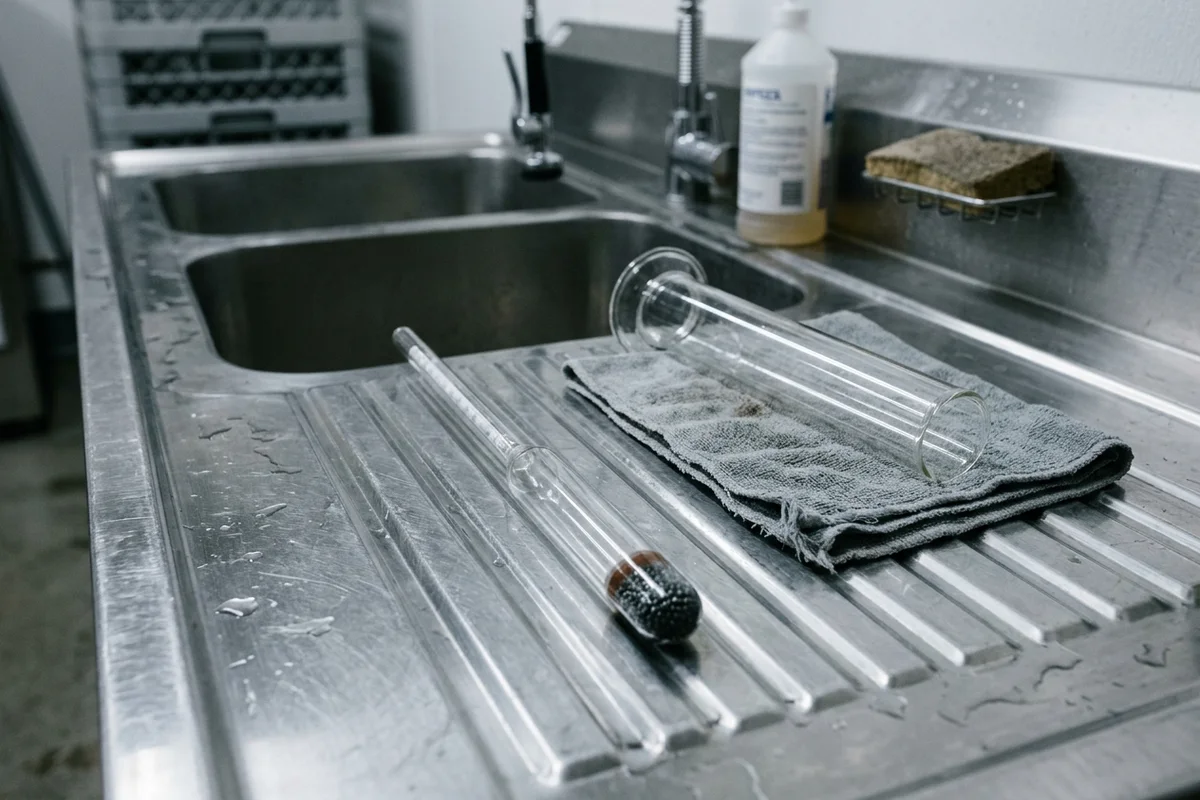
Clean everything first, then sanitize it; these are two different jobs. Cleaning removes dirt and residue; sanitizing kills the wild yeasts, bacteria and moulds left behind. The Connecticut guide suggests scrubbing or soaking tools for at least 20 minutes, then sanitizing with a sulfite solution or another winemaking sanitizer.
| Cleaning | Sanitizing | |
|---|---|---|
| Purpose | Removes dirt, residue and dried wine | Kills spoilage yeasts, bacteria and moulds |
| When | First, after every use | Immediately before the tool touches juice or wine |
| Products in the sources | Hot soapy water; percarbonate-type winemaking cleaners | Potassium or sodium metabisulfite (Campden tablets), iodophor |
| Avoid | Chlorine bleach (hard to rinse out); household bathroom cleaners | Antibacterial soaps containing triclosan on bottles |
| Source | CT CAES; NDSU Extension | CT CAES; NDSU Extension |
Common mistake: Reaching for household bleach. The Connecticut guide advises against chlorine bleach because its residue is hard to remove, and NDSU says not to use bleach on bottles at all.
Fruit flies are part of sanitation too: NDSU warns that they carry vinegar-producing bacteria, so keep the primary fermenter covered with a cloth or a lid and airlock.
Takeaway: Clean, rinse and sanitize every surface that will touch the juice, every time.
Step 3 — Prepare the must and measure the sugar
Prepare the must by treating it with sulfite, adding the recipe ingredients except the yeast, and adjusting the sugar to the target specific gravity; then wait about 24 hours before adding the yeast (NDSU Extension). Sugar sets the alcohol, so measure it rather than following a fixed quantity.
| Existing °Brix of the juice | Sugar per gallon for 12% alcohol | For 13% | For 14% |
|---|---|---|---|
| 18 | 0.39 lb | 0.49 lb | 0.59 lb |
| 20 | 0.20 lb | 0.30 lb | 0.39 lb |
| 22 | 0 | 0.10 lb | 0.20 lb |
| 24 | 0 | 0 | 0.05 lb |
Values from Table 1 of the Connecticut Agricultural Experiment Station guide, which credits Cutler (1996); one degree Brix gives approximately 0.575% alcohol. NDSU gives the same idea in metric terms: 11 grams of sugar per litre of must raises the specific gravity by about 0.004, or one degree Brix. Add sugar in small amounts, mix well and re-measure.
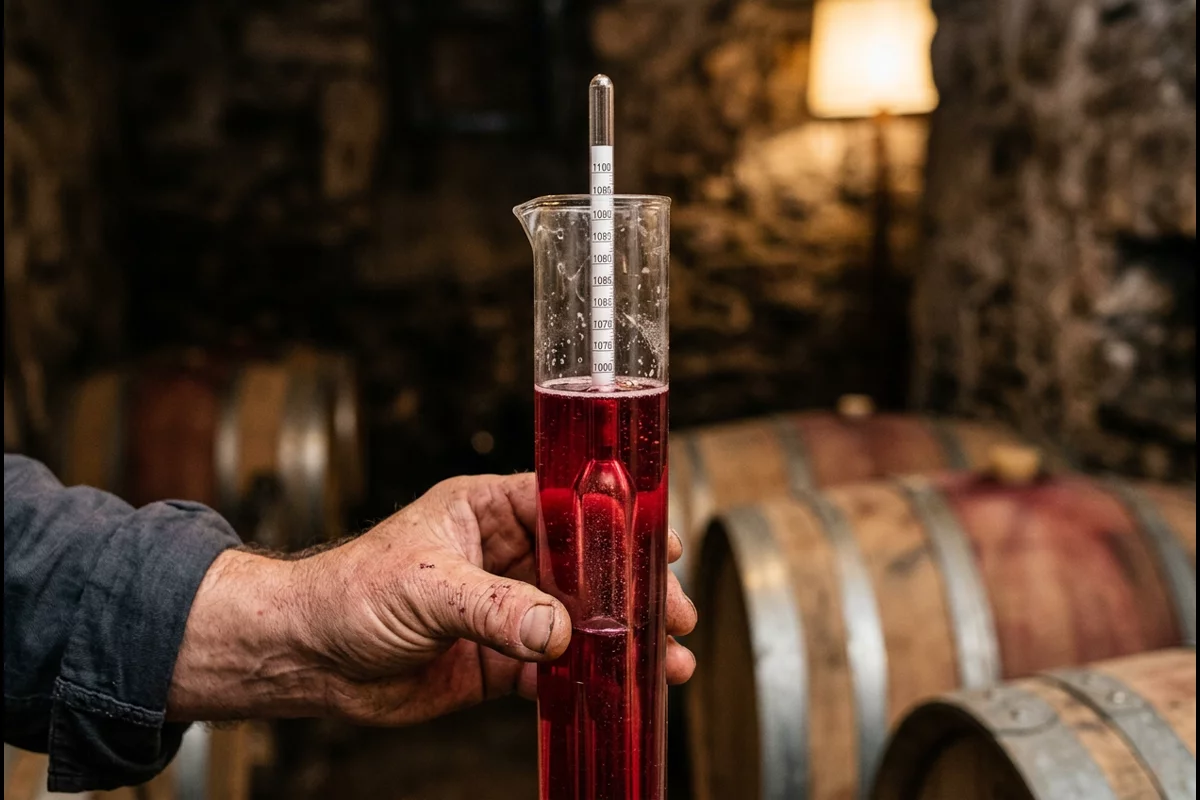
For fresh fruit, NDSU suggests adding sulfur dioxide at 50 parts per million, about one Campden tablet per gallon, to suppress wild yeast and bacteria; that is why the yeast goes in a day later. Record the starting reading: you will need it to work out the alcohol at the end, or else rely on the finished-wine options in measuring wine alcohol when starting gravity was missed.
Common mistake: Adding sugar by the cup without measuring. The same cup gives very different results in juice at 18 °Brix and at 22 °Brix; measure, add a little, and measure again.
Takeaway: Record the starting specific gravity, adjust it to the recipe’s target, and only then add the yeast.
Step 4 — Ferment
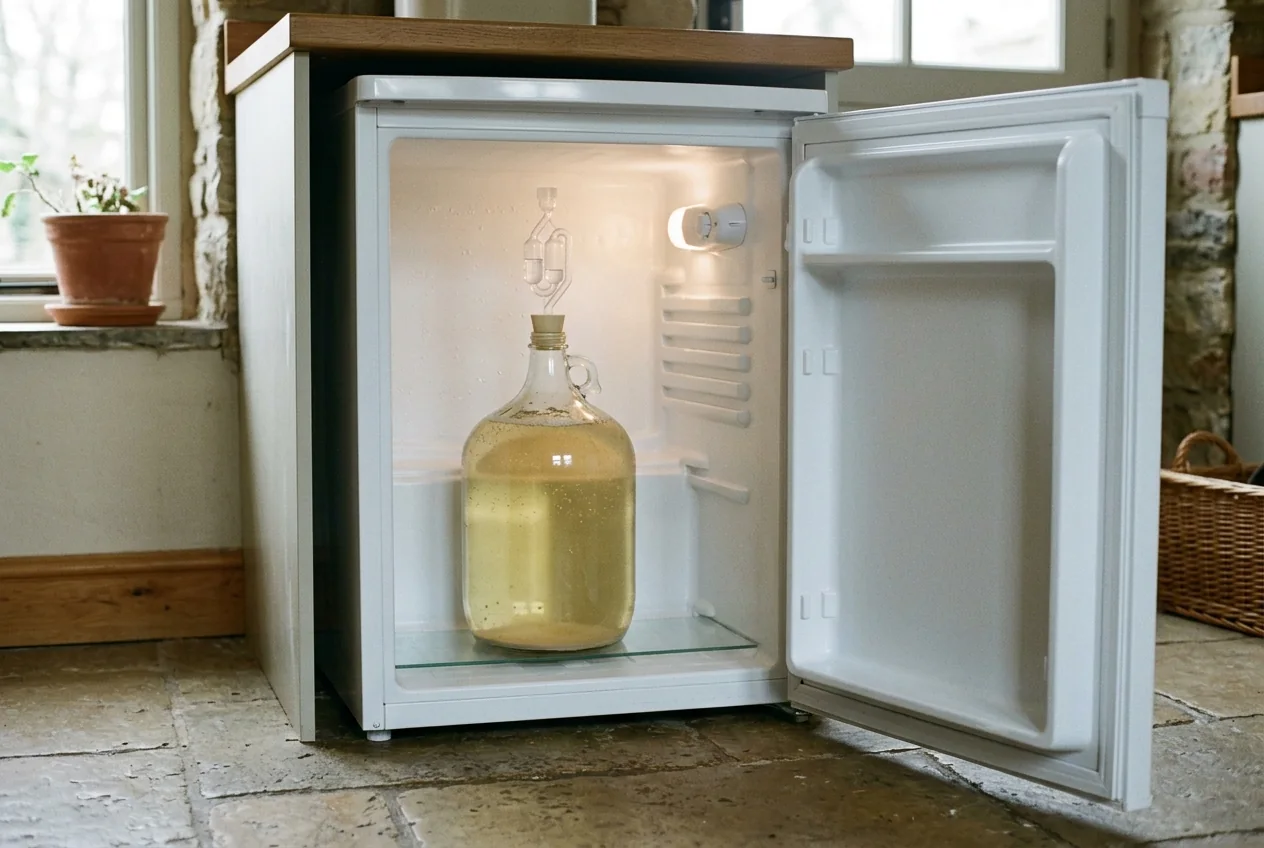
Add a rehydrated wine yeast, ferment in the pail under a clean cloth or a lid with an airlock until the gravity falls to about 1.020–1.030, then siphon the wine into a carboy under an airlock to finish (NDSU Extension). Keep the temperature steady; NDSU suggests 65–80 °F for home wines, warmer for reds and cooler for whites and fruit wines.
| Phase | Vessel | What to do | Move on when | Source |
|---|---|---|---|---|
| Primary | Pail, covered with a clean cloth or a lid | Stir, or for reds punch down the cap (the layer of skins the gas pushes to the top); check gravity daily after the first few days | Gravity about 1.020–1.030 | NDSU Extension |
| Secondary | Carboy, filled no higher than the shoulder, airlock half-filled with water | Leave it to finish; check gravity regularly | Gravity stable at a dry level | NDSU Extension; CT CAES |
The guide to choosing a wine yeast explains why both extension services recommend a cultured strain for a first batch, and the fermentation temperature ranges by source set out what each one says.
Takeaway: Move the wine to the carboy on a gravity reading, not a date, and keep its temperature steady.
Step 5 — Rack, clear and stabilise
Once fermentation has finished, siphon (rack) the wine off its sediment into a clean carboy, top it up, and repeat over the following weeks or months until it is clear (NDSU Extension). Confirm it is finished first; the four checks for a finished fermentation show how.
- Top up after every racking. NDSU fills the carboy to about an inch or two below the stopper to limit air contact.
- Keep sulfite levels up. NDSU adds Campden tablets or sulfur dioxide at every other racking, following the recipe.
- Clarify one way at a time. Use one fining agent at a time and give it days to weeks to work.
- Filtering is optional. It can remove some colour and flavour but leaves less sediment in the bottle.
- Stabilise sweet wines. If sugar remains or you sweeten before bottling, NDSU says to add potassium sorbate, keeping sulfite levels adequate.
The reason to wait is pressure in the bottle. The Connecticut guide warns that a malolactic fermentation still running at bottling can cloud the wine and push corks out, and Purdue Extension sets the commercial “dry” line at under 1 g/L of glucose plus fructose. What else to finish before bottling is covered in what happens between fermentation and bottling.
Takeaway: Rack until the wine is clear and its readings are stable; clarity and stability, not the calendar, decide bottling day.
Step 6 — Bottle and rest
Bottle only clear, stable wine: fill sanitized bottles leaving a small gap below the cork, insert new corks, stand the bottles upright for a few days, then store them on their sides somewhere cool and dark (NDSU Extension). NDSU equates 100 gallons with about 500 bottles, about five 750 mL bottles per gallon, so a 5-gallon carboy fills about 25.
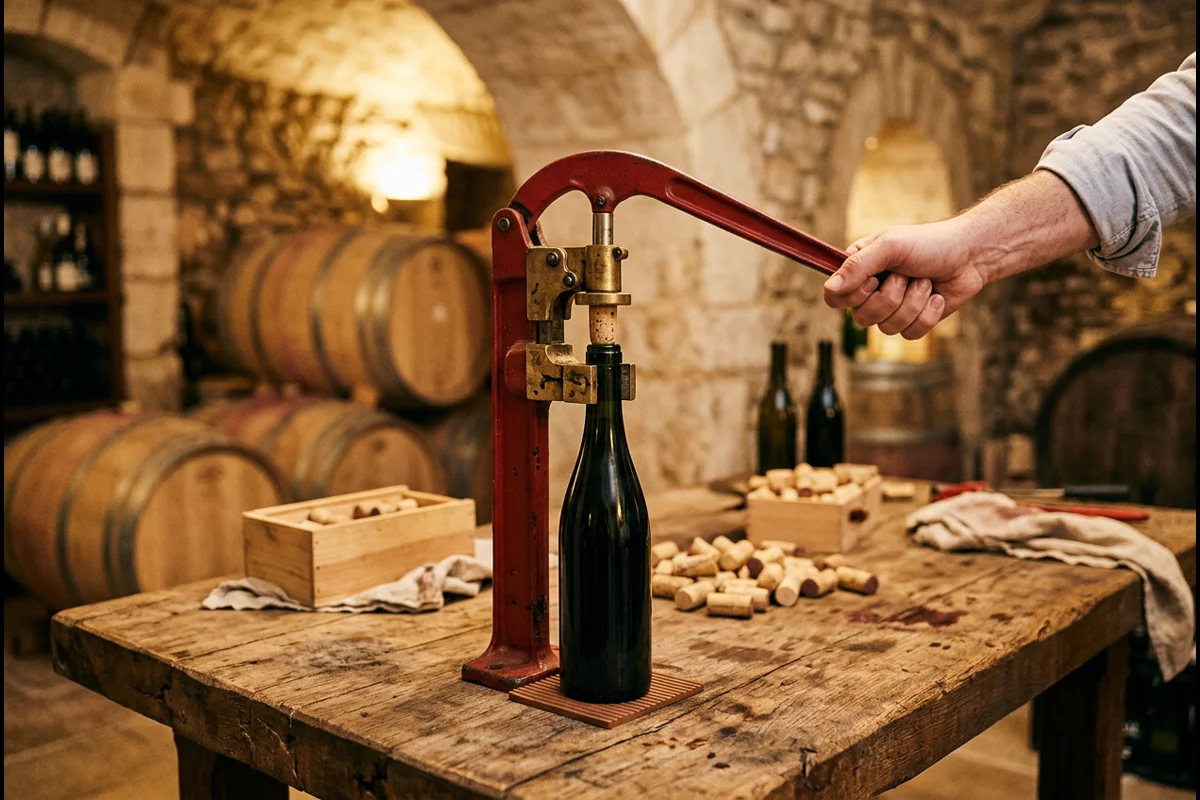
For the gap, the Connecticut guide fills to within about ¼ inch of the bottom of the cork: fill to the rim with a racking cane, and lifting the cane out leaves the right level. NDSU recommends new No. 9 corks for most US-made bottles and No. 8 for some narrower imported necks. After bottling, NDSU describes a temporary change called “bottle shock” that can last three weeks or more; the bottling guide explains what else changes in the bottle.
The full sequence, with fill heights, closures and what changes in the bottle, is in our guide on how to bottle wine, and more cellar topics are collected in the Winemaking section.
Takeaway: Bottle only clear, dry or stabilised wine, cork it with new corks, and rest the bottles upright before laying them down.
What does US law allow for home winemaking?
Federal law lets any adult make wine at home without paying tax, for personal or family use and not for sale, up to 100 gallons a year in a one-adult household or 200 gallons where two or more adults live (27 CFR 24.75). State and local laws still apply, and the federal exemption does not override them.
| Rule | What 27 CFR 24.75 says |
|---|---|
| Who | Any adult: 18 or older, or the higher minimum age for buying wine where the household is located |
| How much | 200 gallons per calendar year for a household with two or more adults; 100 gallons if only one adult lives there |
| Purpose | Personal or family use, not for sale |
| Taking it elsewhere | Allowed for personal or family use, including organized affairs, exhibitions and competitions such as home winemakers’ contests, tastings or judgings |
| Selling | Not allowed “under any circumstances” |
| State and local law | The exemption does not authorize production that breaks state or local law |
NDSU Extension converts the limits to about 500 bottles for a one-adult household and about 1,000 bottles for two or more adults. Rules on making, transporting or serving homemade wine vary by state and locality; check them for where you live.
Takeaway: Keep within the household limit, never sell the wine, and check your state’s rules as well as the federal one.
When this does not apply
This page describes small batches of still, dry wine made at home. It does not cover:
- Selling wine. Wine for sale is made on bonded wine premises under federal and state rules; the home exemption never allows sales.
- Sparkling, fortified or sweet styles. They need extra steps to manage pressure or residual sugar.
- Kit wines. Follow the kit maker’s instructions; their timings and additions differ.
- Health questions. This page explains a process and gives no drinking or health advice.
Readings, quantities and timings come from the cited guides and hold under their conditions; your recipe or yeast maker’s instructions take precedence. For other topics, browse all articles.
Takeaway: Use these steps for a small still-wine batch and switch to method-specific guidance for anything else.
How this page was put together
We compiled this page from NDSU Extension’s home winemaking publication (FN1638, reviewed August 2026), the Connecticut Agricultural Experiment Station’s fact sheet for home growers, Purdue Extension’s note on refermentation and the text of 27 CFR 24.75, all read on October 7, 2026. Where sources give different figures, both are shown with their source. Nothing here comes from our own batches or testing.
Takeaway: Keep a batch sheet of your readings and dates, and check each figure here against the source before relying on it.
Related reading:
- When wine grapes are ready to pick — Sample a block across shade and sun, then fill a blank harvest record before you pick.
- Wine fermentation explained — Follow the fermentation stages and the four checks that show it has finished.
- How to bottle wine — Run the pre-bottling checks, then fill, cork and rest the bottles.
- Wine bottling equipment — Choose fillers and corkers for the size of your batch.